You will start by switching from the default renderer to the mental ray renderer, if you have not already done so. Then you will add photometric lights to illuminate the nighttime scene.
 Application menu, choose
Reset, and accept the prompt to reset 3ds Max.
Application menu, choose
Reset, and accept the prompt to reset 3ds Max.
 (Open File) and in the \lighting_and_rendering\army
compound folder, open army_compound_lighting_start.max.
(Open File) and in the \lighting_and_rendering\army
compound folder, open army_compound_lighting_start.max.
Make the mental ray renderer active:
 (Render Setup) to open the
Render Setup dialog.
(Render Setup) to open the
Render Setup dialog.
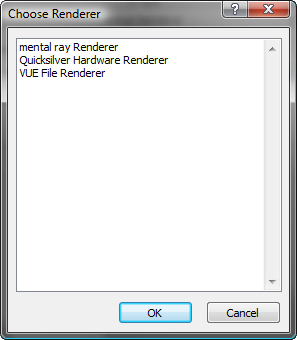
 Assign Renderer rollout, click
  (Choose Renderer) for the
Production renderer (at present the label says Default Scanline
Renderer).
(Choose Renderer) for the
Production renderer (at present the label says Default Scanline
Renderer).
3ds Max opens a Choose Renderer dialog.
 Close the Render Setup dialog.
 (Render Production).
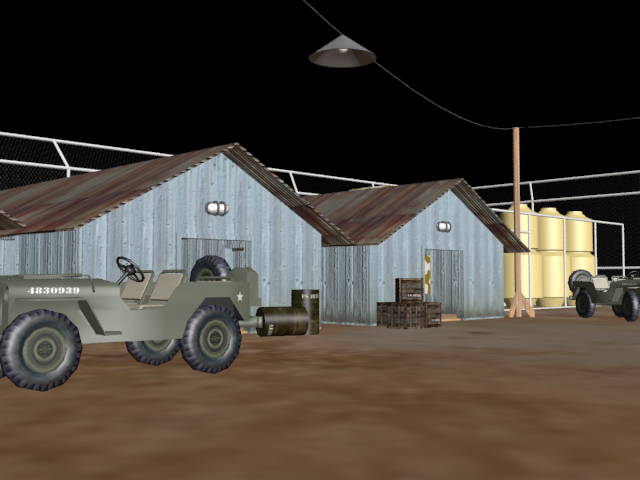
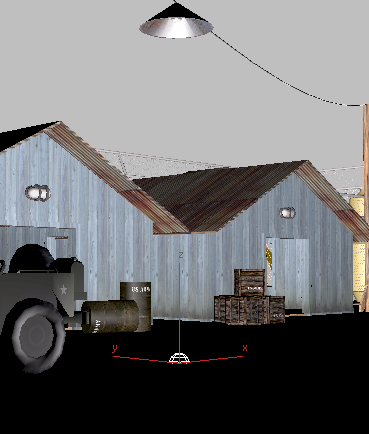
Rendered scene with default lighting
This is the same starting point as the previous tutorial, with default lights providing basic illumination. Now you will add photometric light objects to illuminate the scene.
Close the Rendered Frame
Window.
Set up the photometric lights:
 zoom in to the overhead
lamp next to the jeep01 object.
zoom in to the overhead
lamp next to the jeep01 object.
 Create panel, click
  (Lights). If AutoGrid is
on, turn it off. On the Object Type rollout, click Free Light to turn
it on.
(Lights). If AutoGrid is
on, turn it off. On the Object Type rollout, click Free Light to turn
it on.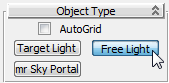
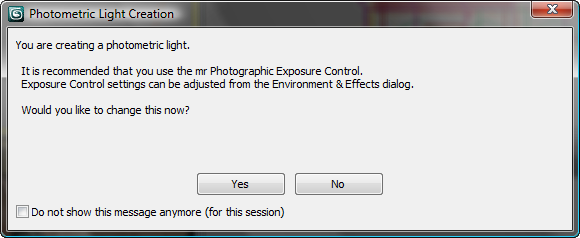
3ds Max opens a dialog that asks whether to add an “mr Photographic Exposure Control” to the scene.
zoom in to see the area
around the new light.
 (Select And Move) to move
the light object on its Y axis until it is just below the lamp light
bulb.
(Select And Move) to move
the light object on its Y axis until it is just below the lamp light
bulb.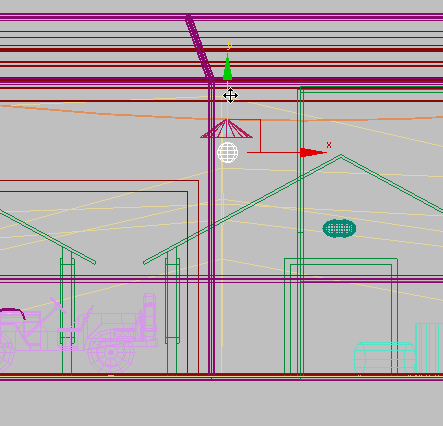
Do not position the light object inside the bulb itself. If you do, the bulb object will cast unwanted shadows.
 Modify panel. On the Templates
rollout, open the drop-down list and choose Street 400W Lamp (Web).
Modify panel. On the Templates
rollout, open the drop-down list and choose Street 400W Lamp (Web).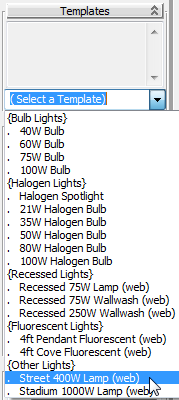
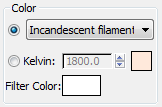
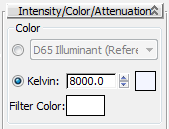
Next, you will adjust the color of the light to be cast. You have two ways to do this: You can specify color by the type of object that emits the light, such as an incandescent bulb or a fluorescent tube. Or you can specify light color by its temperature, in degrees Kelvin.
Color group, open the
drop-down list and choose Incandescent Filament Lamp.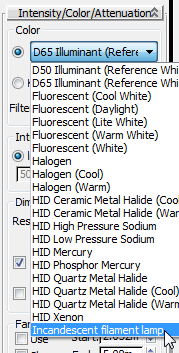
The color swatch just below this list updates to match the color temperature of your light selection. The rollout also displays its corresponding value in degrees Kelvin.
render the scene.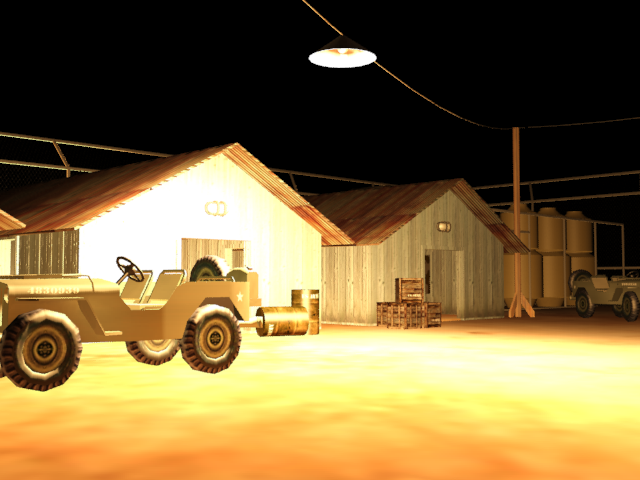
Scene exposure set too high for the light object
Even though 3ds Max added an exposure control to the scene, its default settings don’t work with this light object.
Exposure
group, choose Photographic Exposure, then specify a Shutter Speed
of 1.0 (1/1.0 = 1 Sec.), then render the scene again.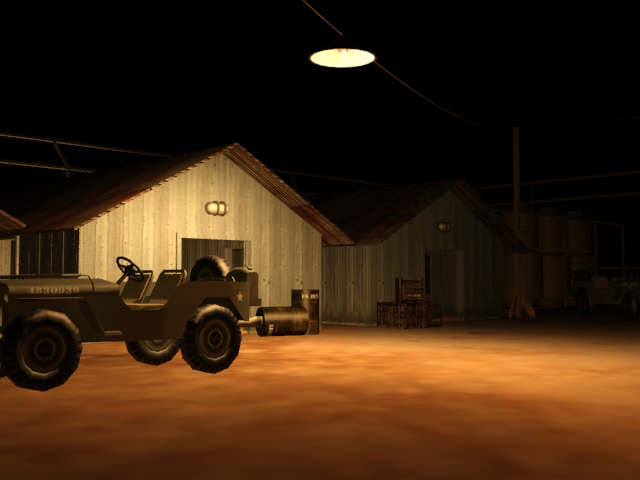
Rendered scene after adjustment to exposure
The rendering is much improved, but light is falling only on the central part of the compound. You need to add another overhead light.
Close the Environment And
Effects dialog.
 zoom out until you can see
the other overhead light fixture, to the lower right.
zoom out until you can see
the other overhead light fixture, to the lower right.
 Shift+move
the light object until it is just below the other light fixture.
Shift+move
the light object until it is just below the other light fixture.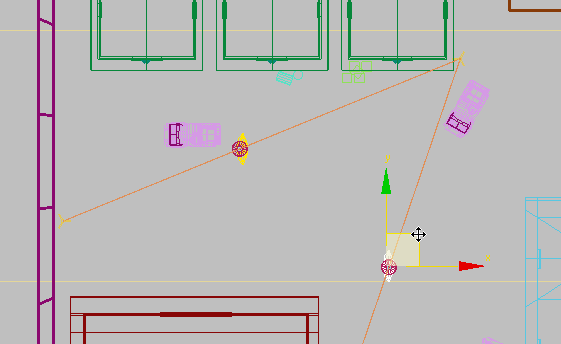
3ds Max opens a Clone Options dialog.

render the scene again.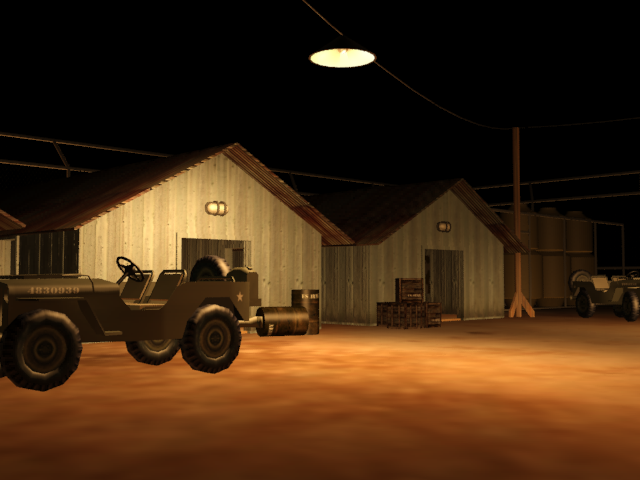
Scene illumination after second light added
The rear area of the compound is now illuminated, but objects in the scene cast no shadows.
Modify panel. In the General Parameters rollout Shadows group, turn
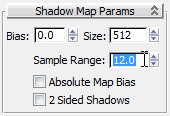
on Shadows.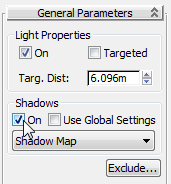
Setting Sample Range to a value greater than zero generates soft-edged shadows.
Render the Camera01 viewport
again. 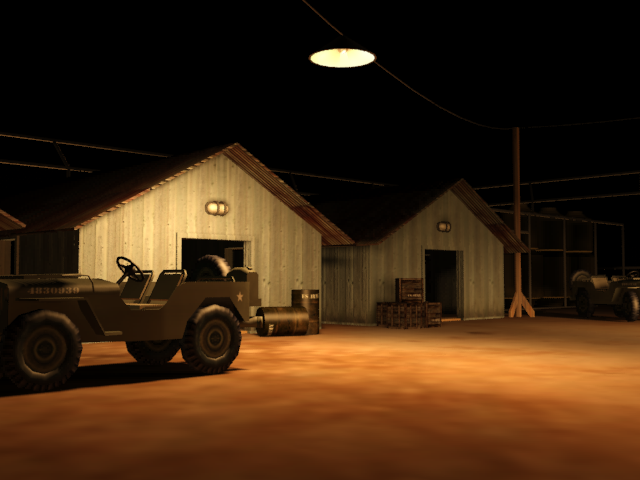
Objects in the scene now cast shadows
Notice the improvement that shadow casting has on the rendering of the jeep.
Next, you will add light objects to the light fixtures above each barracks doorway.
Add lights over the barracks doors:
Close the Rendered Frame
Window, activate the Top viewport, and zoom in to the light fixture
above the entrance to the far left barracks.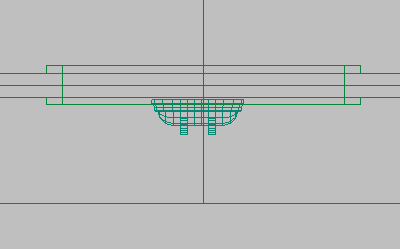
Create panel, click (Lights). On the Object
Type rollout, click Free Light to turn it on.
(Select And Move) to move
the light object on its Y axis until it is level with the light fixture.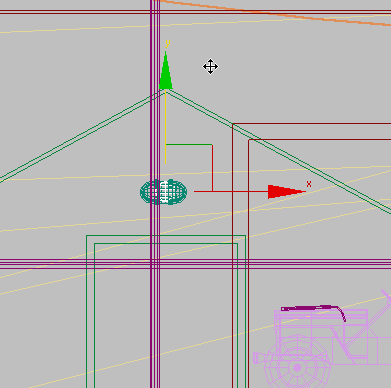
zoom out until you can see
all three doorways, then Shift +
drag the light to the right, creating two instances of the light,
each positioned above one of the remaining two barracks entrances.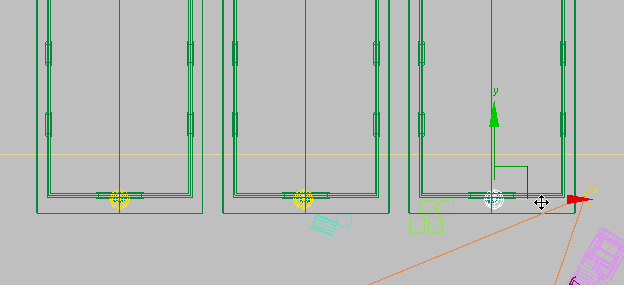
Modify panel. On the Templates
Rollout, open the drop-down list and choose 100W Bulb.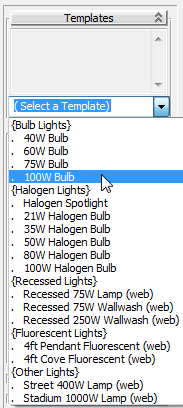
Keep in mind that the light you choose in this list possesses the same properties as real-world lights do. In terms of light attenuation, for example, for every 10 meters distance travelled, light intensity from this bulb will drop off to 1/100th of its initial strength.
Color group, use light
temperature to change the light color. You want the bulb to project
a light blue color, so choose Kelvin, and then enter a value of 8000.0.
In the range of degrees Kelvin, light color varies from 1000 (pink) to 20,000 (blue).
render the scene.
Rendered scene with all light systems in place


