The final step in modeling the P-47 is to improve the curvature of the glass bubble.
Refine the shape of the bubble:
 (SwiftLoop) again, and add
a loop in front of the vertical loop that is already present, midway
along the bubble portion of the canopy.
(SwiftLoop) again, and add
a loop in front of the vertical loop that is already present, midway
along the bubble portion of the canopy.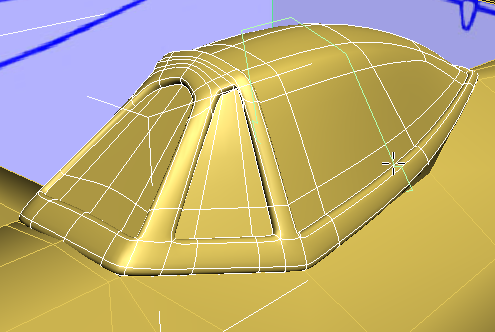
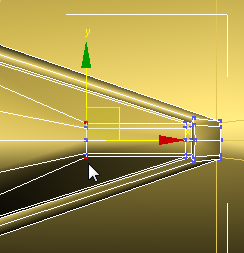
 (Edge) sub-object level.
 click and Ctrl+click to select the four edges
at the top of the original bubble loop.
click and Ctrl+click to select the four edges
at the top of the original bubble loop.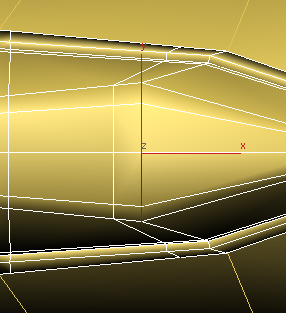
Perspective view
 Edit panel, activate
  (Constrain To Edge), and
then in the Front viewport,
(Constrain To Edge), and
then in the Front viewport,  move the edges back, toward
the tail of the airplane.
move the edges back, toward
the tail of the airplane.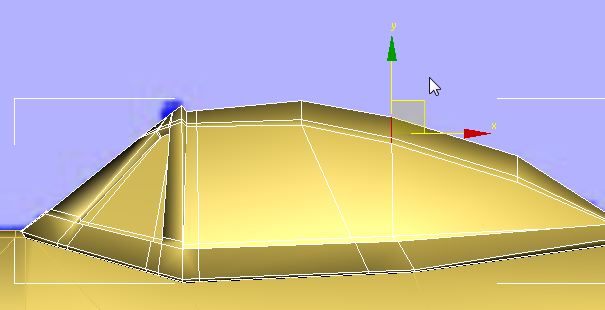

move these edges down to
the middle of the side of the bubble.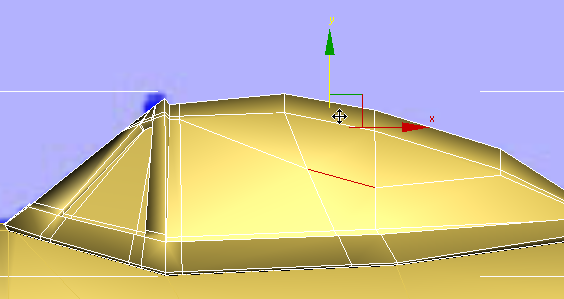
 (Vertex) sub-object level.
Edit panel, activate
(Vertex) sub-object level.
Edit panel, activate  (Constrain To Face).
move these vertices down and
forward so the bubble has a smoother contour.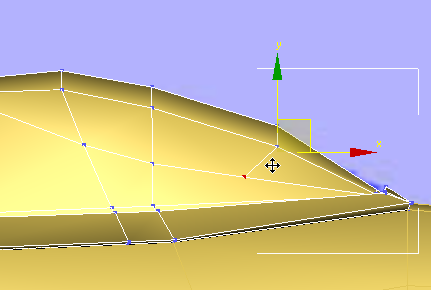
Edit panel, activate  (Constrain To None).
Expand the width of the bubble:
The last step in finishing the canopy, is to refine the bubble so the glass bulges a bit more, as shown in the blueprint images.
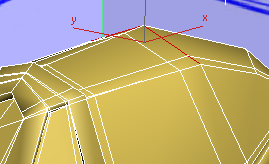
Ctrl+drag
to select the vertices you just moved, as well as the vertices immediately
above them on the same segment.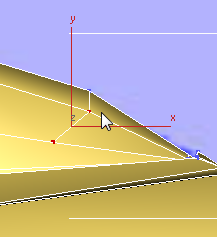
Look at the Top view to make sure you have selected four vertices: two on each side of the bubble.
 (Select And Uniform Scale),
then from the Use Center flyout, choose
(Select And Uniform Scale),
then from the Use Center flyout, choose  (Use Selection Center).
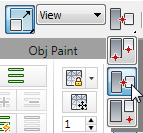
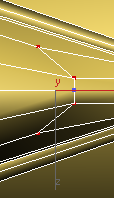
 scale the vertices out along
the Y axis to give the rear part of the bubble more of a bulge.
scale the vertices out along
the Y axis to give the rear part of the bubble more of a bulge.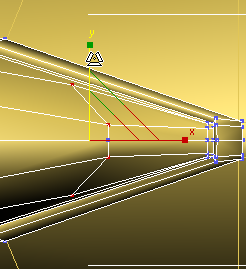
region-select the four vertices that
are in front of the ones you just scaled, at the sides of the bubble along
the contour.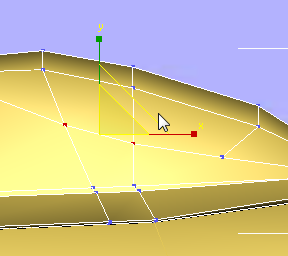
scale these vertices out
along the Y axis, as you did for the rear vertices.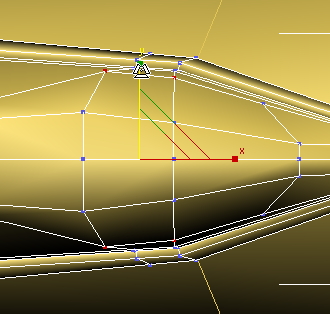
 (Vertex) sub-object level.
 (NURMS) for the Canopy.
Select the fuselage, and
turn on (NURMS) for it as well.
(NURMS) for the Canopy.
Select the fuselage, and
turn on (NURMS) for it as well.
 zoom out so you can see
the entire airplane.
zoom out so you can see
the entire airplane.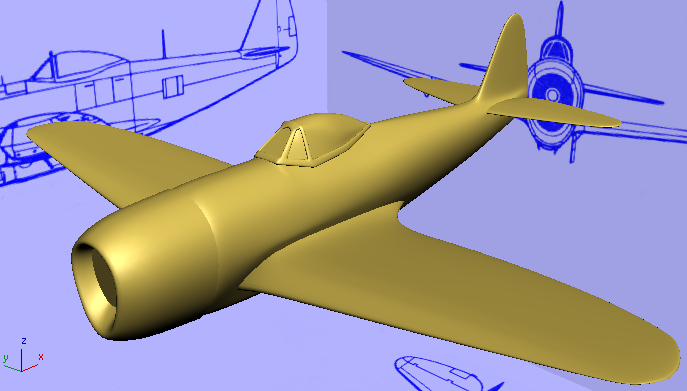
To see a finished version of the P-47 model, you can open p47_completed_no_texture.max. This version of the model includes some additional geometry adjustments that didn’t seem important enough to include in this tutorial.
You can also see a finished and textured version of the P-47 model by opening p47_completed_textured.max..
The P-47 Thunderbolt model contains only two objects, but each object has a lot of subtle detailing. Among the features and methods covered in this tutorial were:


