You can change the length of the render hairs in two ways: apply a random scale to the hair or use a cut map to determine exactly where the hairs will be shorter. Changing the length of the render hairs does not affect the guide hairs, but the opposite is true. For information on scaling the guide hairs, see Changing the Hair Length.
You can set the value of the Random Scale parameter on the Effects page of the Hair property editor to do as advertised. This parameter randomly scales the render hairs down: hair is never scaled to be longer than it is. A value of 1 is totally random, while a value of 0 does nothing.
Using the Cut Map parameter on the Effects page of the Hair property editor, you can determine the length of the render hairs in different areas on the hair emitter object based on a weight map or texture map connected to it. The length of the guide hairs is first taken into account, then the map is applied.
Cut Map makes the hair shorter where its connected map has values lower than 1. For example, a value of 1 (such as pure white in a texture map) makes all the render hairs the full length of the guide hairs, while a value of 0 (such as pure black in a texture map) cuts the render hairs at the root so that you won't see them. Any value in between is a portion of the guide hair length starting at the root.
For an example procedure of connecting a texture map, see Connecting a Texture Map to Hair Color Parameters.
Here's how to connect a weight map to the Cut Map parameter:
Create a weight map for the hair emitter object and paint the map values onto it. You can also paint the weight map after it's been connected to the Cut Map parameter.
For information in general on weight maps, see Parameter Maps.
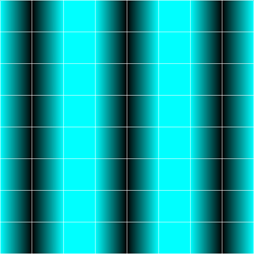
Weight map showing black areas at 0 (no hair) and turquoise areas at 1 (full length hair).
Open an explorer so that you can pick the weight map from it later on.
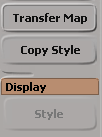
Select both the hair and hair emitter objects using Shift or Ctrl, and click the Transfer Map button on the Hair toolbar.
This transfers the map from the emitter to the hair object and prompts you to pick the weight map.
In the explorer, pick the emitter object's weight map that you created.
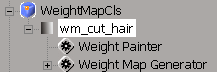
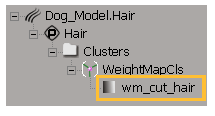
Under the hair object's Cluster folder, you'll see a new map that matches the one you transferred from the emitter object.
In the Hair property editor, right-click the Cut Map parameter's connection icon and choose Connect.
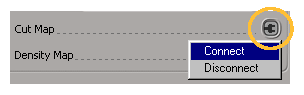
In the pop-up explorer, pick the map that you transferred to the hair object (wm_cut_hair in this example).
The connection icon shows that a map is connected (turns red). You can click on this icon to open the weight map's property editor.
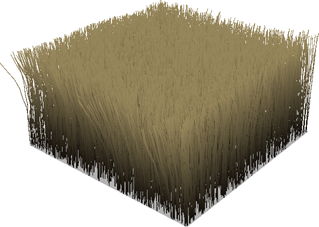
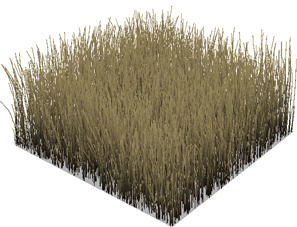
The hair is cut according to the values on the weight map. Notice that the hair shape always remains the same, no matter how short the hair.
After you connect the map, you can go back and paint some more on the emitter object's original weight map, and see that the connected map (and the results on the hair) is updated.
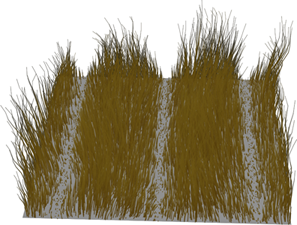
Hair is cut according to weight map values. Hair that corresponds to 0 on the map is cut to the root, and hair that corresponds to values over 0 is cut according to its value, up to 1 which is full length.
 Except where otherwise noted, this work is licensed under a Creative Commons Attribution-NonCommercial-ShareAlike 3.0 Unported License