The particle shape is what is what you see displayed in the viewport. This is not necessarily the final rendered shape, as it is often modified by the shader that you use. There are several predefined shapes to choose from, and you can also use instances of your own geometry to substitute for the basic particle shapes (see ICE Particle Instances).
 Preferences and click Display). This option activates hardware optimizations for displaying particles, but may cause problems with certain graphics hardware.
There are two particle attributes that are used to define particle shape: Shape and Scale (which lets you resize the particle shape separately on each of its XYZ axes to create oblong shapes like rectangular boxes and ellipsoids).
These attributes are used in several compounds that are described in this section, but you can also use them on their own in an ICE tree by specifying them in the Get Data and Set Data nodes, as described in Using ICE Particle Attributes.
For more information on attributes in general, see ICE Attributes [ICE Reference].
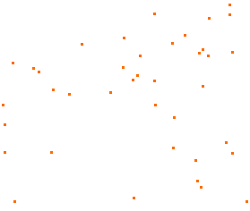
You can set the shape of the particles that is displayed in the viewport using the options in the Shape list in the Emit compound's property editor.
To set other display options, including overriding this shape, see Setting the Particle Display.
Create a particle emission — see Setting Up Any Type of ICE Particle Emission.
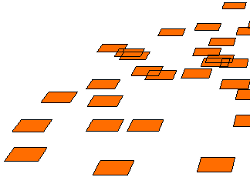
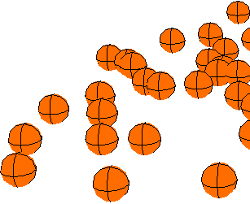
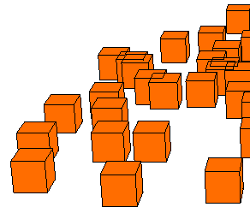
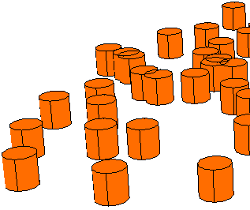
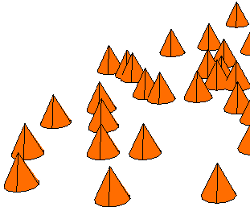
Open an Emit compound's property editor and select the shape from the Shape list: point, disc, rectangle, sphere, box, cylinder, capsule, cone, segment, or blob.
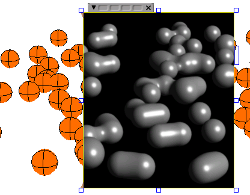
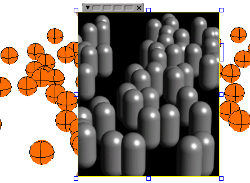
If you want to render the particles as blobs (fluid), select Blob. Blobs and capsules are displayed as spheres in the viewport, and as blobs or capsules only in the render region — see ICE Particle Blobs.
If you want to see strands (trails) in the viewport, select the Segment shape. To see their actual shape, you must create a render region. See ICE Particle Strands for information on creating particle strands.
If you want to render sprites, select the Rectangle shape to create standard billboards. You can render sprites with any shape (except for Point), but a rectangle gives the best flat billboard look.
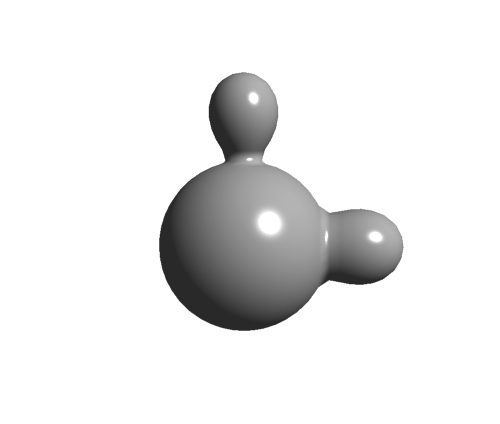
The particle Blob shape renders particles as 3D blobby objects that can blend together. You can use blobs to create particles that look like smooth, organic objects, or you can create goopy liquid stuff, like the wax blobs you see in lava lamps.
You can specify how much the particles flow into one another using a blending value. Softimage tries to keep the blob radius constant in accordance to the blending amount you specify, but as the value increases, the blobs start to thicken.
The particle size defines the solid center which is surrounded by a blending area. Density decreases with distance from the center until it reaches the edge.
To see the particles as blobs, you must create a render region because the blending is done at render time. In a viewport, particles with the blob shape are displayed as spheres.
|
|
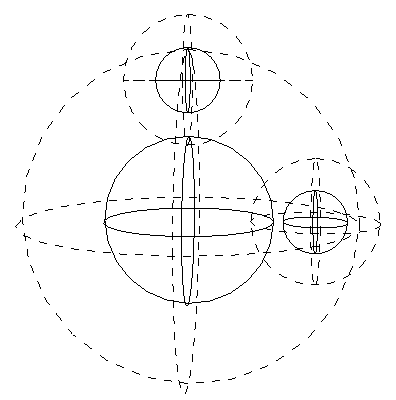
On the left, blending areas around each particle center.
On the right, areas where the particles' blending areas intersect are blended together.
Create a particle emission — see Setting Up Any Type of ICE Particle Emission.
Open an Emit compound's property editor and select Blob from the Shape list.
Select the Blobs compound from the preset manager in the ICE tree, and drag it into the graph area.
Open the Blobs property editor and set the Blob Blend and Blob Strength values.
Draw a render region around the particles to see the result.

 Except where otherwise noted, this work is licensed under a Creative Commons Attribution-NonCommercial-ShareAlike 3.0 Unported License