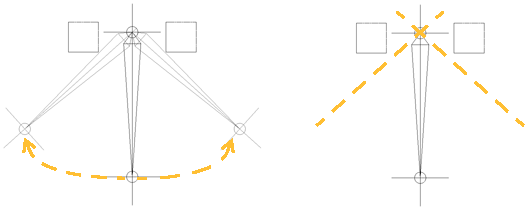
When you create a skeleton with many chains, you may find that each chain doesn't always move the way you would like it to when you invoke IK. Another problem is that, unlike real limbs, chains don't have that many restrictions in their ability to move. This can cause problems, such as a leg bending in an alarmingly unnatural manner! The way to solve these problems is to set "rules" that determine how much each joint should rotate.
Here are the ways you can constrain joints and effectors to limit their movements:
Limit the movements of joints by setting Rotation Limits and Stiffness — see Setting Rotation Limits.
Constrain the chain's orientation using the up-vector and/or preferred axis constraints — see Constraining the Chain's Up Vector (Direction).
Displaying Rotation Limits and Stiffness
Click the eye icon  in a viewport and choose Visibility Options from the viewport menu bar.
In the property editor, click the Attributes tab and select Chain Joint Rotation Limits from the Selected Objects or Unselected Objects area.

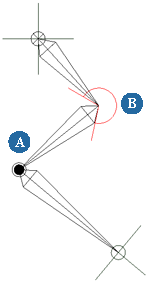
The Skeleton Rotation Limits commands restrict the range of rotation of one or more chain elements. For example, setting rotation limits could prevent
a head from rotating 180 degrees (unless, of course, this is the desired effect!).
Local coordinates are always used for the restriction unless the element is not parented, in which case global coordinates are used.

To apply rotation limits interactively
Select the joint to be restricted. It's usually best to start with the first joint in the chain. Because each bone is parented to the next bone in the chain, you need to consider all three axes and see how changes affect the subsequent joints.
Click the Rotate icon in the Transform panel.

If you are working with a 2D chain, remember that the rotation axis for a 2D joint is Z. Rotating only in the Z axis keeps the joint properly in the resolution plane.
Rotate the joint to its minimum position, which is the farthest clockwise point (assuming the Z axis points toward you) at which you want it to stop.
Choose Create  Skeleton
  Set Minimum Rotation Limit from the Animate toolbar.
Rotate the joint to its maximum position, which is the farthest counterclockwise point at which you want it to stop.
Choose Create  Skeleton
  Set Maximum Rotation Limit from the Animate toolbar.
Repeat these steps for the next joint, if necessary.
To apply rotation limits from the Kinematic Joint property editor
When you add rotation limits to a chain, its joint angles are not recalculated automatically. To update the chain, you must move the effector.
Select the joint to be restricted. It's usually best to start with the first joint in the chain. Because each bone is parented to the next bone in the chain, you need to consider all three axes and see how changes affect the subsequent joints.
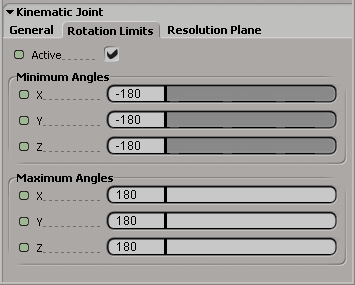
Open the Kinematic Joint property editor for the selected bone and click the Rotation Limits tab.

Click the Rotate icon in the Transform panel.
If you are working with a 2D chain, remember that the rotation axis for a 2D joint is Z. Rotating only in the Z axis keeps the joint properly in the resolution plane.
Rotate the joint to its minimum position, which is the farthest clockwise point (assuming the Z axis points toward you) at which you want it to stop.
On the Rotation Limits property page, set the Minimum Angles for the appropriate axes.
Rotate the joint to its maximum position, which is the farthest counterclockwise point at which you want it to stop.
In the Rotation Limits property page, set the Maximum Angles for the appropriate axes.
Check Active to activate the rotation limits for the joint.
The restricted object never rotates beyond the minimum and maximum values set in the Kinematic Joint property editor.
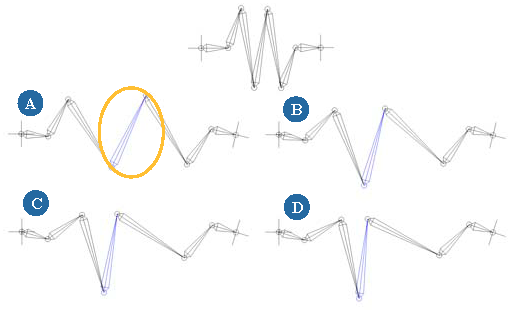
Another way to restrict a joint's range of motion is to set its stiffness. A joint's stiffness is a measure of its resistance to bending while using IK. While you may not want to give your character arthritis, a little stiffness in the joints can be a useful thing.

Select the bone whose joint is to be restricted and open its Kinematic Joint property editor.
In the Joint Behavior area, select the Use Stiffness option to activate the stiffness for the joint.
Set the Stiffness value. This value must be from 0 to 1, inclusively. The higher the value, the stiffer the joint.