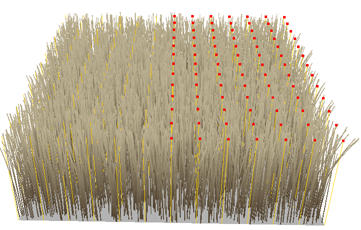
As in real life, brushing hair in the virtual world is a basic requirement for good grooming. Brushing grooms the hair with a proportional modeling brush, allowing you to intuitively sculpt the hair in an overall manner. With proportional modeling, hair points closest to the brush's cursor (the crosshairs at the center of the brush radius) are affected the most while those farther away are affected less, according to the distance falloff.
The brush tool uses the standard proportional modeling settings to control things such as the distance limit for affected points and the shape of the falloff profile. To modify these settings, open the Proportional property editor by right-clicking the Prop button on the Transform panel.
The brush can be used on other types of geometry besides hair. For information, see Using Proportional Modeling.
Set the selection filter according to the parts of the hair you want to brush: tips, points, or strands. You can also select the whole hair object itself to brush all hairs.
Select the hair components you want to brush: only the selected hairs are affected by the brush. For example, select the tips on one side of the object to groom only those hairs while leaving the hairs on the other side unaffected.
If nothing is selected, then all components inside the brush radius are modified.

Guide hairs that have been combed along the Negative Y axis.
Click the Brush button on the Hair toolbar: a brush pointer with a radius around it appears.
To change the brush's radius, scroll the mouse wheel, or press R and drag to the right to make the radius larger or to the left to make it smaller. The size you set is persisted so that it's the same the next time you activate the brush tool.
Position the center of the brush where you want the strongest brushing effect to be, then click and drag to brush the hair:
Left-click and drag to translate the hair in the direction you want.
Middle-click and drag to rotate the hair in a clockwise or counterclockwise direction. This is especially useful with tips selected.
Right-click and drag to scale the hair toward or away from the brush's center: drag to the right to splay (fan) apart the hairs, or to the left to bring (clump) the hairs together.
Click and drag in another area of the hair to progressively sculpt the shape of the hair as you like.