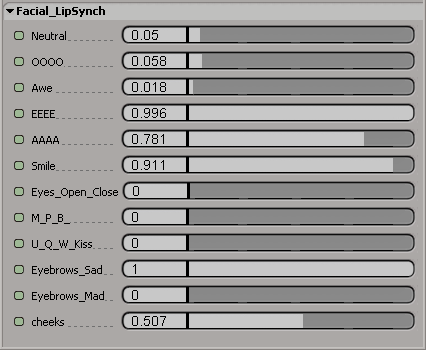
Custom parameters are parameters that you create for any specific purpose you want. You typically create a custom parameter then connect it to other parameters using expressions or linked parameters. You can then use the sliders in the custom parameter set's property editor to drive the connected parameters in your scene.
For example, you can use a set of sliders in a property editor to drive the pose of a character instead of creating a virtual control panel using 3D objects.

Proxy parameters are similar to custom parameters, but with a fundamental difference. Custom parameters drive target parameters, but they are still separate and different parameters. This means that when you set keyframes, you key the custom parameter and not the driven parameter.
So what do you do when you want to drive the actual parameter, or create a single parameter set that holds only those existing parameters you are interested in? You can use proxy parameters.
Unlike custom parameters, proxy parameters are cloned parameters: they reflect the data of another parameter in the scene. Any operation done on a proxy parameter has the same result as if it had been done on the real parameter itself (change a value, save a key, etc.).
Both custom and proxy parameters need to live in custom parameter sets. The sets provide you with a way of grouping and naming parameters that belong together, like creating your own property editor. You can create custom parameter sets for any namable element in a scene (including objects, models, groups, clusters, layers, passes, partitions, materials, shaders, and actions) as well as the scene root.
Finding Custom Parameter Elements in the Explorer
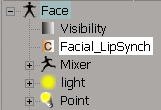
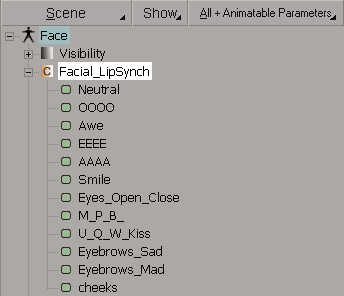
You can find a custom parameter set and its parameters using the explorer. Custom parameter sets are displayed with a special orange icon marked with a "C". To open the custom parameter set's property editor and display all its custom or proxy parameters, click this icon.

If the explorer's filter is set to show parameters, you'll see those as well.
