The Symmetry constraint automatically mirrors the three transformation types (scaling, orientation, and position) of two objects constrained to each other. You can also use an additional constraint object that acts as a local mirroring reference for the two constrained objects.
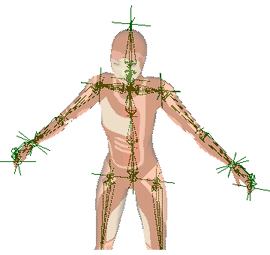
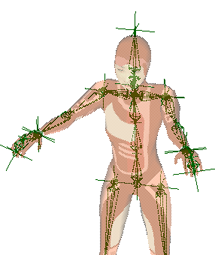
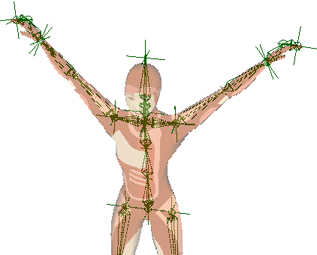
Constraining in symmetry is something that you will likely want to do with characters, due to the nature of the human body. For example, Jaiqua's Tai Chi moves on her left arm's effector are constrained in translation to her right arm's effector. Her arm movements are mirrored across the YZ plane, in this case.
|
|
|
You can also pick a reference object across which two objects can be constrained in symmetry. The reference object's XY, YZ, or XZ local plane (whatever you choose in the Symmetry property editor) is the one used for the symmetry for the two objects. This is useful if you want to have a local symmetry constraint across a part of the body, such as the sternum, that moves with the character. If you constrain the arms in symmetry to the sternum, both arms are always symmetrical across it. When manipulating the plane, the constrained objects follow its translation, rotation, and scaling.
Although the Symmetry constraint gets assigned from object A to object B, it is bidirectional. This means that you can manipulate or animate either the constraining or the constrained object. For example, if object A is manipulated or animated, it's object B that follows in symmetry relative to A; if object B is manipulated or animated, it's object A that follows. However, if both objects are animated, the constraining object has precedence over the constrained one.
To constrain an object symmetrically to another or to a reference object
Choose Constrain  Symmetry and pick the constraining object:
In the Symmetry constraint property editor, select the global Plane of symmetry across which you want to mirror the animation: XY, YZ, or XZ.
Select which transformations you want to use for symmetry by selecting the Active option for Scaling, Orientation (rotation), or Position (translation).
For example, if you deselect Scaling, the constrained object's size is not constrained symmetrically to the constraining object's size.
You can also set an offset for any transformation on any axis of the constrained object using the Scaling, Rotation, and Position X, Y, Z sliders. This can be useful to have the constrained objects not be completely symmetrical, such as having an offset for only the translation in Y.
See Creating Offsets between Constrained and Constraining Objects for more information.


