The recommended way to package, edit, and install add-ons is through the Plug-in Tree. However, you can still use the Package Add-on, Edit Add-on, and Install Add-on dialogs to perform those tasks.
The recommended way to create add-on packages is to use the Package Location feature.
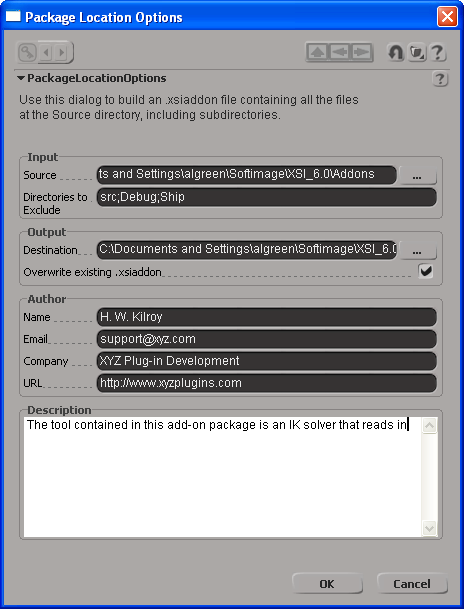
To package your add-on through the UI
Click the file browser widget  next to the Source text box to select the root folder of your add-on.
Click the file browser widget next to the Destination text box to specify the filename of your add-on package.
Fill in any information you want to associate with this add-on, and click OK to close the window.
A message will appear in the log window of the script editor reporting on the success or failure:
// INFO : looking for <userpath>\Addons\XYZ_IK\IKsolver.dll
// INFO : looking for <userpath>\Addons\XYZ_IK\IKsolver.html
// INFO : Packaging: <userpath>\Addons\XYZ_IK
// INFO : Destination: <userpath>\XYZ_IK.xsiaddon
// INFO : Packaging of 2 files complete (0.107 seconds)
The recommended way to edit an add-on package is to use the Package Location feature to repackage the modified Add-on directory.
The workflow for installing and uninstalling add-ons is the same for single add-ons like toolbars or keyboard maps, as it is for more involved add-ons, such as a shader, with compiled library files, and a help file.
You can install add-on packages in the user, factory, or workgroup locations. To install an add-on, you need to select the .xsiaddon file from a file browser window.
Choose Add-On Install from the File menu. The Install Add-On window appears.

Click the Browse button beside the Filename text box. A file browser appears.
Select the .xsiaddon file you want to install from the file browser. The package items appear in the main selection box on the Install Add-On window.
From the file Type selection list, click the kind of the file (for example, layout, preset, or library) you want to include in your installation. A list of files matching the type you selected appears in the main selection box.
You can click the check box to the left of each file to toggle between including and excluding it from the installation. By default, all files are checked.
Click Install. If the add-on manager detects items that already exist on your system, a message box pops up for each item asking if you want to overwrite it.

Click Yes to replace the existing item or No to skip it. When each item has either been successfully installed or skipped, the Install Add-On window closes.
To uninstall an add-on, you need to select an .xsiaddon file.
Choose Add-OnUnInstall from the File menu. The UnInstalling Add-Ons window displays each add-on file separated into three columns: Name, Location, and File Path.
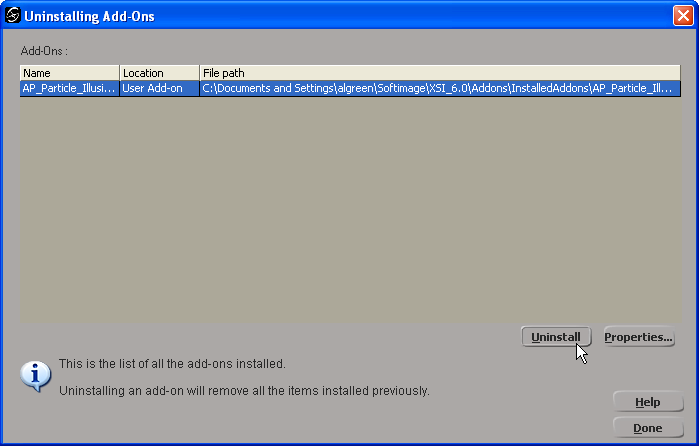
Select the file you want to uninstall. The current location (User Add-on, Factory Add-on, or Workgroup Add-on) of each add-on appears in the Location column, and the full path and filename appear under the File Path column.
You can access the information saved with an add-on package by selecting the .xsiaddon file from the Name column and clicking Properties.
Click Uninstall to remove the add-on from Autodesk Softimage. A dialog box appears asking you to confirm the removal of the add-on package.
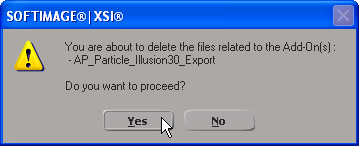
Click Yes to proceed with removing the add-on package. All files that were installed with the add-on disappear from the UnInstalling Add-Ons window and are removed from your machine.
When you have finished removing all the add-ons you want from your machine, click Done to close the window.