While you're building your render tree, there are many operations that you frequently do with the shader nodes, such as selecting and moving nodes, collapsing and expanding nodes, renaming nodes, deleting nodes, and so on. This section gives you a description of these types of operations.
Opening a Node's Property Editors
To open a node's property editor and view or modify its parameters, do one of the following:
A single property editor can display multiple property sets (also referred to as nested property editors). When you open the property editor of a node in a render tree, the property editors of other connected nodes are nested (or not) as follows:
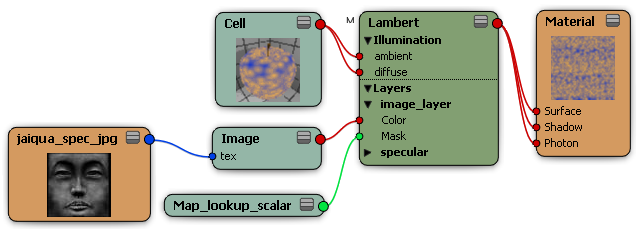
Opening the property editor of the material node in a render tree will display the nested property editors of the shaders connected directly to the material node's input ports.
The same is true when you open the property editor of the light node in a render tree: only those shaders that are connected directly to the light node's input ports will appear nested in its property editor.
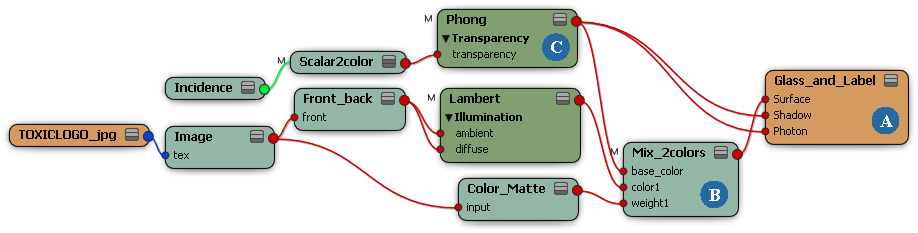
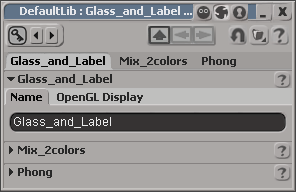
In this render tree example the property editor for the Glass_and_Label material node (A) displays the Mix_2colors (B) and Phong (C) shader property editors which are connected directly to its input ports. None of the other connected shader nodes' property editors are displayed.
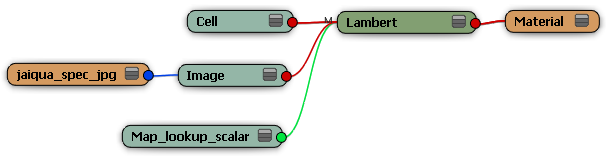
Opening the property editor of any shader node in a render tree will not display the property editors of other connected shaders or image clips. A shader node displays only its own properties.
Opening the property editor of a shader compound in a render tree will not display the property editors of other connected shaders or image clips. A shader compound displays only its own properties.
Every node in the render tree has a name. For example, a Phong surface shader is appropriately named "Phong". Additional Phong shaders in the same render tree are named "Phong1", "Phong2", and so on. However, these are not the most meaningful names you can give to the shader, so luckily you can rename them. You can even rename the material node this way.
The default tool in the render tree is the Select and Move tool. If a different tool is active, you can activate it by pressing
the spacebar or by choosing Tools  Select and Move Tool. Selected nodes are displayed with a white border and name label.
Click to select a node, or drag a rectangle to select all nodes within it.
Middle-click to branch-select a node, that is, to select a node and all nodes connected to its inputs recursively.
Press Shift in combination with the above to add to the selection.
Drag in combination with the above to move the corresponding nodes.
Click in the background to deselect all nodes.
Collapsing and Expanding Nodes
As your render tree grows, it may become necessary to collapse some nodes to gain some real estate in your work area. Nodes can be collapsed to different degrees, depending on your needs. You can collapse/expand all of the nodes in the render tree, or only the selected nodes.
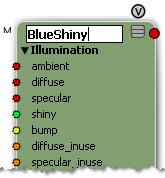
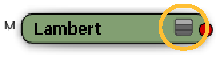
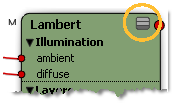
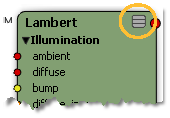
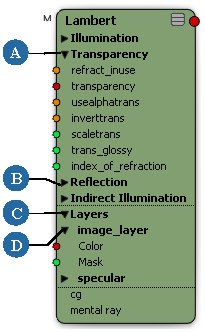
Nodes can be displayed in three possible states: Expanded, Collapsed, or Show Connections Only. This is signified by the icon in the upper-right corner of each node:
The expanded state shows all output and input ports. This is useful when you are actively making and adjusting connections on a node. Port groups are visible, but not expanded unless there is a connection in that group.
The collapsed state shows no ports. This can be useful when you are finished with a portion of a tree and want to simplify the view. Only the shader node names are visible.
Showing connections only is a partially expanded and partially collapsed state that shows all output ports but only the connected input ports. This can be useful when you are done making input connections but still want to see how they are connected.
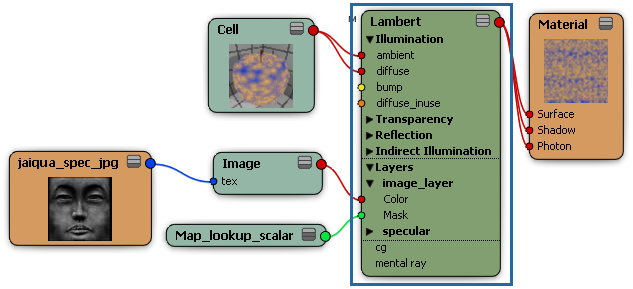
Port groups are expanded to show connected ports, as well as ports that have been added to texture layers.
Texture layers are expanded to show their connected ports.
To show connections only for nodes
Right-click in an empty area of the render tree workspace and choose Show Connections Only to show connections only for all nodes.
Select one or more nodes and choose Show Connections Only for Selected from that menu to do so only for those nodes.
Collapsing and Expanding Port Groups and Texture Layers
When a shader has a large number of ports, they are grouped in the shader's node. You can collapse and expand each group to see its ports. This is also true of texture layers that you add to a node, each of which belongs to is own port group.
The port groups are represented by triangles and bold text. When a node is expanded, you can collapse and expand these layout groups individually by clicking on the triangle.
You can copy and paste nodes within the same render tree or to another render tree. The only node that you cannot copy and paste in this way is the Material node.
To copy and paste shader nodes in the render tree
In the render tree, select one or more nodes that you want to copy.
In the same object's render tree or another object's render tree, click an empty region to make sure that no nodes are selected.
To paste the selected node(s) into the render tree workspace, right-click an empty area of the render tree workspace and choose Paste or press Ctrl+V.