OpenGL shadow maps are rendered to a Pbuffer (Windows systems) or a frame buffer (Linux systems) whose resolution you can set. You can display OpenGL shadow maps in 3D views set to the Realtime Shaders > OpenGL display mode. For OpenGL shadow maps to display properly, three conditions must be met:
Make sure that your scene lights have shadows enabled. Select the light and choose Render > Modify > Shader to open the light's
property editor and select the Shadows  Enabled option.
From the same 3D view's Display menu, choose Display Options to open the Display Options property editor.
On the Display Options tab, activate the Realtime Shaders - OpenGL Realtime Shadows option.
Set the Object Casting Shadows option to one of the following:
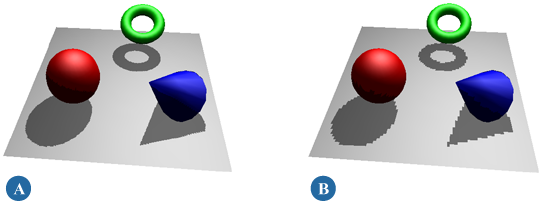
Set the P-Buffer Resolution to specify the resolution of the PBuffer (or frame buffer) to which realtime shadows are rendered. Higher resolutions create higher quality shadows but will slow interaction considerably.
Set the Shadow Color to define the color of the shadows. Use the sliders to set any color. This parameter is animatable, so you can change the color over time.
You can render your OpenGL shadow maps with any one of the hardware renderer types (other than DirectX) using the display resolution of the OpenGL shadow maps' PBuffer. For how to do this, see Rendering Realtime Effects to File.
If you enabled Optimize Interaction for realtime shadows, you should deactivate this option before you output the scene using any of the hardware renderer types.


