You can use a geometric object to constrain or "hold" a volume effect within a specific region. Usually the object is fully transparent so that you can see the volumic effect.
A volume smoke effect is "held" within the confines of a fully transparent object.
To create an object-based volume effect
Select an object to which you want to apply a volumic effect.
When you have a volumic effect assigned to a bounding box–type object (for example, a sphere or cube to hold a fog effect), make the geometric object as small and as simple as the scene allows. Since the object is not (usually) rendered or visible, bring down its subdivisions and scale it as small as possible for the scene or the effect the object is holding.
This does not apply, of course, if the object is an integral part of the effect you are trying to achieve and you want the volume effect to closely follow or "honor" the shape of the object that contains it (as illustrated above).
From the Render toolbar, choose Get  Shader Volume and select from the list of available shaders. See Volume [Shader Reference].
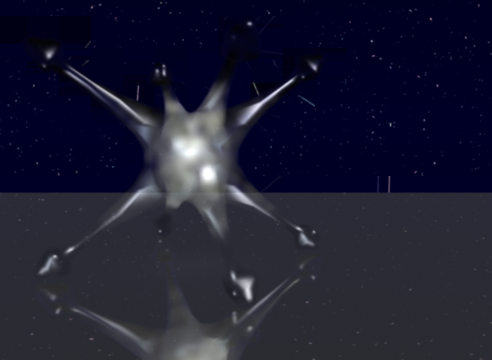
The image above uses the Volume Effects shader. A scatter light was placed within the bounding volume to illuminate and shadow the smoke particles.
Once you select a shader, it is attached to the Volume input of the object's material node (see the render tree example below) and its property editor opens.

You can edit the volume shader's parameters.
For more information on parameters for a particular volume shader, click the help icon in the shader's property editor.


