There are a variety of simple deformations you can quickly apply to objects. The parameters of each deformation are set in a single property editor and require no other input, so you can modulate the deformation easily. The deformations can be applied to objects, hierarchies, and clusters.
In addition, you can use the Push Paint tool to paint a Push deformation quickly and easily.
You can apply a simple deformation to an object, hierarchy, or cluster. With clusters, you can also modulate the deformation with a parameter map.
This section provides a quick visual reference of the effects you can achieve with the different types of simple deformation. For a complete description of every parameter available for a given deformation, click ? in the property editor.
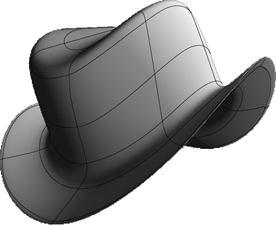
Bend folds an object. You can specify the axis that gets bent, the angle of the bend, the radius over which the bend occurs, the position where the bend starts, and the direction of the bend.
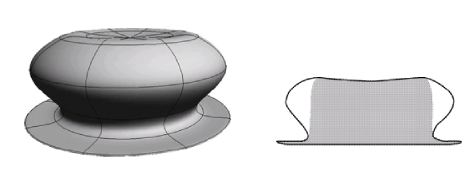
Bulge pushes an object's points out from the center. You can specify which axes the deformation occurs on, as well as the reference axis, the amplitude, and the amplitude's profile.
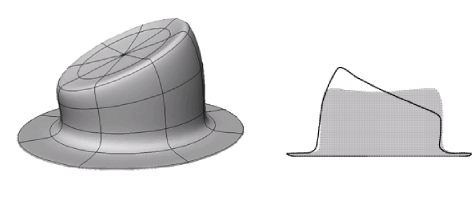
Shear pulls the ends of an object in opposite directions. You can specify which axes the deformation occurs on, as well as the reference axis, the amplitude, and the amplitude's profile.
Taper gradually scales an object in one direction. You can specify which axes the deformation occurs on, as well as the reference axis, the amplitude, and the amplitude's profile.
Twist progressively rotates an object in one direction. You can specify the axis or rotation, the maximum angle, and the angle's modulating profile.
You can also use the Twist deformation to create a vortex effect, where the amplitude of the rotation depends on the radial distance from the axis. The maximum angle occurs at the center of the deformation and tapers off towards the edges of the object.
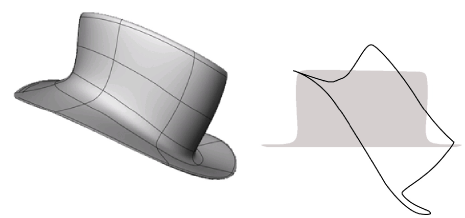
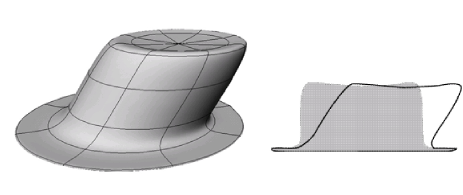
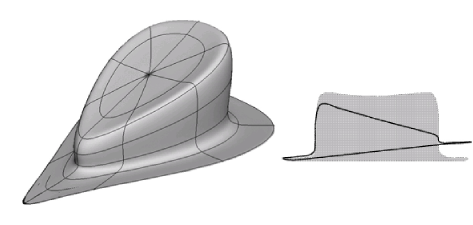
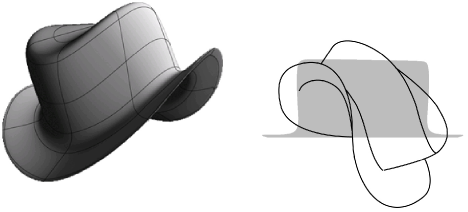
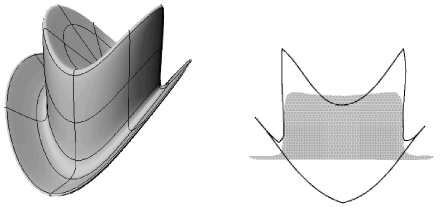
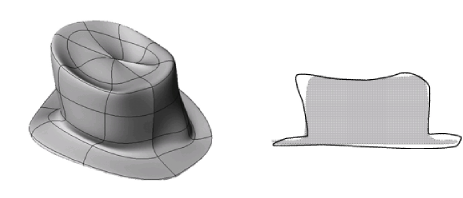
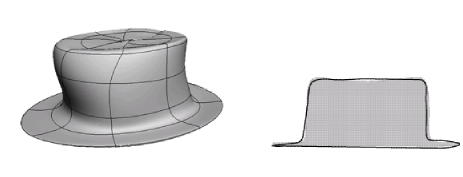
Fold wraps the extremities of an object towards an axis. You can control the axis, the type of fold (linear or spherical/cylindrical), and the degree of folding in the primary and secondary planes.
Push moves points in the direction of their normals. You can specify the amplitude.

You can quickly create a weight map, connect it to a Push deformation, and activate the Paint tool as described in Paint Push. This lets you sculpt an object by painting.
Randomize moves points around randomly. You can specify the maximal displacement in each axis, the number of repetitions, and the way that random values are generated. As an alternative to Randomize, you can use the ICE-based Turbulize Mesh deformation — see Turbulize Mesh [ICE Deformations].
Shape Jitter is like an animated Randomize. As an alternative to Shape Jitter, you can use the ICE-based Turbulize Mesh deformation — see Turbulize Mesh [ICE Deformations].
The options on the Time Control tab of the Shape Jitter Op property editor control the time span of the effect:


