You can apply a number of lens shaders directly to a camera using its lens shaders stack. A lens shader is a rendering subroutine that affects rays as they are emitted from the camera. Lens shaders let you achieve effects like fish-eye views, depth of field, and cartoon rendering.
The camera's shaders stack allows you to modify the order in which lens shaders are evaluated, thereby changing the results of the final effect. Since you can also apply lens shaders to a pass, you can decide which of the two shader stacks to use, what order they will execute in, or whether or not the pass lens shaders will overwrite the ones in the camera stack. For more information, see Applying Shaders to Passes [Rendering].
Softimage provides a library of lens shaders that you can experiment with to create many different effects, see Lens and mental ray > Lens [Shader Reference].
Adding Lens Shaders Using the Camera Property Editor
You can apply lens shaders to the camera's lens shaders stack from within the Camera Property Editor on the Lens Shaders tab.
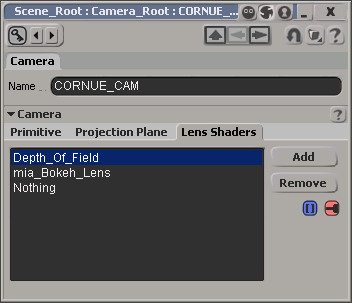
| Add |
Adds a shader to the camera's shaders stack.
|
| Remove |
Deletes the selected lens shader from the camera's shaders stack. |
| [lens shaders list] |
Lists the names of the lens shaders that are applied to the camera's shaders stack. Lens shaders are displayed in their order of execution. Click the Edit Array Item icon (the " blue socket") to change the order. Double-click a shader entry in the list to open its property editor. You can also click the Connection icon (the "red plug") to edit a shader's properties. |

|
Select a shader entry and click the Edit Array Item icon (the " blue socket") to open a pop-up menu with the following commands: Remove: Deletes the selected shader from the camera's shaders stack. Once a shader is removed from the list, it no longer influences the effect. Move Up/Move Down: Promotes or demotes the selected shader in the camera's shaders stack. The position of a lens shader in the stack indicates its order of evaluation. Changing the evaluation order can impact the results of the final effect. |

|
Click the Connection icon (the "red plug") to open the selected shader's property editor where you can modify its parameter values. |

|
Click the Connection icon (the "grey plug") to open a pop-up menu of lens shaders that you can apply to the camera's shaders stack. For more information, see Connection Icon Status and Working With Conversion Shaders. |
Adding Lens Shaders Using the Render Tree
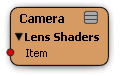
You can apply lens shaders to the camera's lens shaders stack directly from the Camera node in the render tree. You do not have to open the Camera Property Editor to access the shaders stack.
The Camera node is displayed in the render tree workspace.
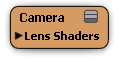
Set the node to its fully expanded state.
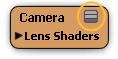
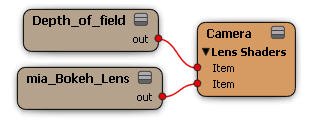
Right-click the Lens Shaders port group and select Add Item.
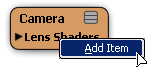
A port named "Item" is added to the port group.
Right-click the port and select a lens shader from the pop-up menu, or select More... to locate other lens shaders.

Repeat this task to add as many ports and lens shaders as you require for your effect.
To change the order of evaluation for a shader in the camera's shaders stack, right-click its port and select Move Up or Move Down. Changing the evaluation order can impact the results of the final effect.
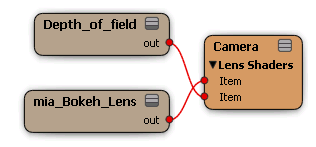
To delete a shader (and its port) from the camera's shaders stack, right-click its port and select Remove. Once a shader is removed from the list, it no longer influences the effect.


