Show in Contents

Add to Favorites

Home: Autodesk Showcase Help

Add lights

Add lights

Light properties

Using the lights interface
What are lights?
Lights
are independent sources of illumination in your scene. They can
be used to create highlights, dramatic lighting, or emphasize important
parts of your models. Unlike the environment light or IBL, lights
are objects within Showcase, and can be positioned, edited, grouped,
hidden or added to alternatives. They are represented in your scene
with 3D “grips.”
NoteIn
Hardware Rendering mode lights do not cast shadows, while in Ray
Tracing mode, lights can cast shadows based on their properties.
Create a light
To create new lights
in your scene:
- Press the L key (or select Scene
> Lights) to open the Lights interface.
- Select the objects to illuminate.
NoteWhen
a light is first created, the objects currently selected will be
automatically associated with the new light. This association aids
in automatic placement of the light, and shows the illumination
of the light.
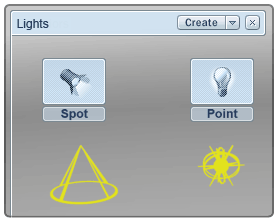
- Click the Create button
and select Create Spot Light (a directional
cone of light) or Create Point Light (a sphere
of light).
- A light with default properties is created
and automatically placed above and to the right of the objects being
illuminated, based on the current view.
NoteThe Light is represented
in the scene by a 3D icon, called a “grip,” which represents the
type of light created. The grip shows the position and orientation
of the light, and can be selected like other objects in the scene
for editing and transformations.
Edit light properties
To edit the properties
of a light:
- Select a single light.
- Press Ctrl-L (or
select Scene > Light Properties)
to open the Light Properties dialog.
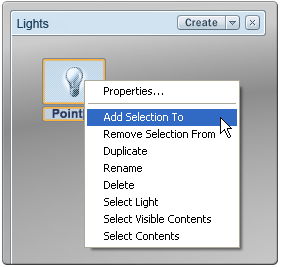
- Press and hold the right mouse button
over a light’s icon in the Lights interface, and select “Properties...”
from the context menu.
- Adjust the light properties to see interactive
changes.
Select
other lights in the scene to view and edit their properties while
the Light Properties dialog is still open.


