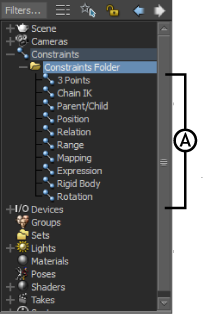
To create constraints between objects you must first add a constraint to your scene.
To add a constraint asset:
- Select a constraint asset in the Asset browser, and drag it into the Viewer window.
If you drag the constraint on top of an object in the Viewer window, a context menu appears asking you if you would like to
constrain the object or set it as a source object in the constraint. If you drag the constraint into an empty part of the
Viewer window, the constraint is added to the scene and you can selected in the Scene browser, but it is not connected to
objects.
The Navigator window displays the Constraint settings, and the constraint is added to the Scene browser.
A new folder named “Constraints” appears in the Scene browser, with the new constraint added, and the Navigator window displays
the Constraint settings.
- Alt-drag objects from the Viewer window or Scene browser and assign them to the appropriate object cells in the constraint
settings.
- Click Active to activate the constraint. The objects move to accommodate the constraint.
- You can make the following adjustments to the positioning and offset of objects:
- You can create a blend between the constrained object’s original position and its constrained position by activating the constraint
and adjusting the Weight values. See Creating and removing constraint offsets.
- You can retain the constrained object’s base position so that it maintains the same position in relation to the source object
by clicking Snap before activating the Active option. Clicking Snap also activates the constraint, but with the offset retained.
See Snap button.
- You can zero the constraint offset by clicking Zero. This locks the constrained object and disables the Source object’s offset
values in the Properties window.
 Except where otherwise noted, this work is licensed under a Creative Commons Attribution-NonCommercial-ShareAlike 3.0 Unported License

 Except where otherwise noted, this work is licensed under a Creative Commons Attribution-NonCommercial-ShareAlike 3.0 Unported License