The Range constraint lets you influence a constrained object using one or more pulling objects.
To limit an object’s range:
- Select a Range constraint from the Asset browser’s Constraints folder and drag it into the Viewer window.
- If you drag it into an empty area of the Viewer window, the Range constraint template appears in the Navigator window.
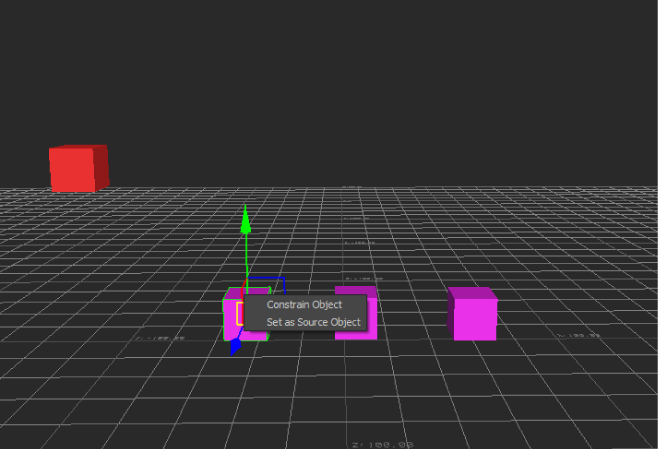
- If you drag the constraint on top of an object, a context menu appears asking if you want to assign the object as the constraint’s
Source (parent) or Constrained (child) object .
- Assign the object that you want to constrain to the Constrained (child) object cell.
- Assign the object that you want to define the limit or maximum range that the constrained object can be pulled to the Source
(parent) cell.
The limit is a radius centered on the pulling object.
- Assign the object that you want to be the pulling object that affects the constrained object to the Pulling Object 1 cell.
- Click Lock in the Constraint settings to lock the position of the objects to be constrained.
- Click Active to activate the constraint.
 Except where otherwise noted, this work is licensed under a Creative Commons Attribution-NonCommercial-ShareAlike 3.0 Unported License