This topic describes the basic procedure to animate a simple cube (available in the Asset browser). While there are many ways to use MotionBuilder as an animation tool, you can use the following procedure as a basic guide and introduction to important tools and windows.
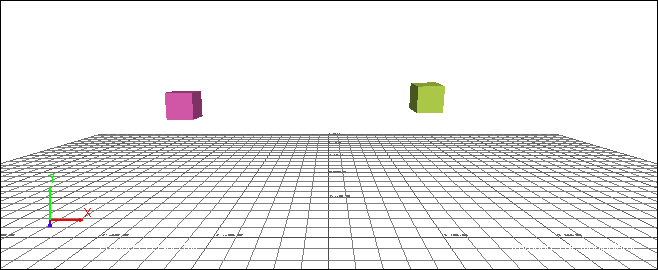
Optional: You can change the color of the two cubes by adding a material to each, then changing the Diffuse property.

FCurves window
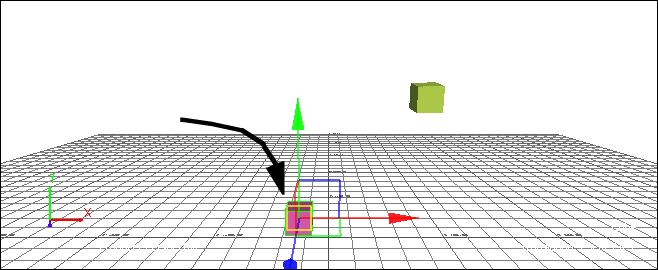
The properties of the selected cube display in the FCurves properties pane as well as in the Properties window.

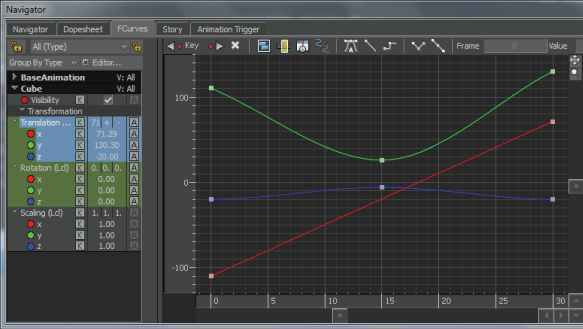
Cube’s Translation properties selected, showing the function curves
The cube’s translation properties are selected and their representative function curves display. Right now, the function curves are flat because the cube is not yet animated.
The color of the function curves correspond with the color of the axis they represent. By default, the function curve for the X-axis is red, the Y-axis is green, and the Z-axis is blue.

Properties pane A. K button for Translation properties
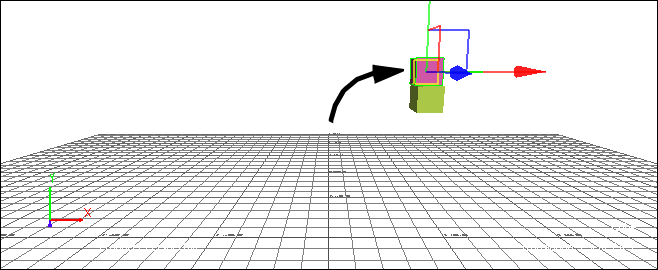
One keyframe displays on each function curve. On the Action timeline, one visual keyframe represents all three translation properties.
Now that you’ve set a keyframe, you can also modify the function curves by manipulating the keyframes on the function curves themselves, or change the time or value in the FCurves Options pane.

Transport Controls window
Function curves framed
Tangent handles display on the selected keyframes, and their coordinates display in boxes on the horizontal (time) and vertical (value) axes.
This zooms on the animation from frame 0 to 60, adjusting the Action timeline to the length specified by the Zoom time codes.
See Transport Controls.
 Except where otherwise noted, this work is licensed under a Creative Commons Attribution-NonCommercial-ShareAlike 3.0 Unported License