You can use the 3 Points constraint to constrain the rotation of an object with the position of three objects.
To constrain an object’s rotation with the 3-Points constraint:
- Select a 3-Points constraint from the Asset browser’s Constraints folder and drag it into the Viewer window.
If you drag it into an empty area of the Viewer window, the 3-Points constraint template appears in the Constraint settings.
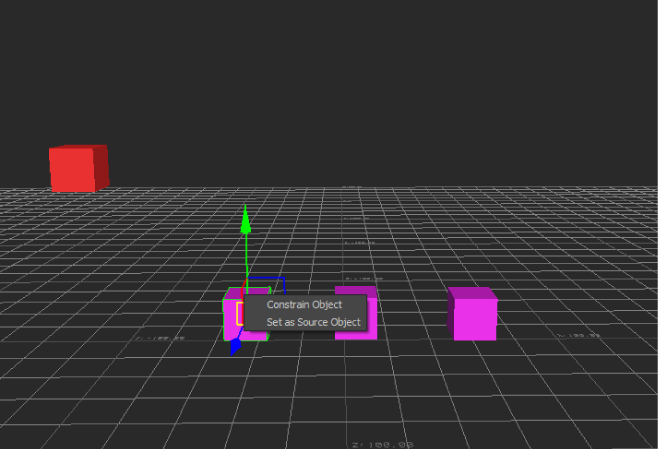
If you drag the constraint on top of an object, a context menu appears asking if you want to assign the object as the constraint’s
Source (parent) or Constrained (child) object.
- Assign the object whose rotation on which you want to base the position and movement of three source objects to the Constrained
Object cell.
- Assign the object whose position affects the pivot point of the constrained object to the Origin cell.
NoteYou can specify the same asset, model, or marker as the Origin and the constrained object.
- Assign the object whose position affects the rotation of the constrained object to the Target cell.
- Assign the object whose position affects the roll of the constrained object to the Up cell.
- Click Lock in the Constraint settings to lock the position of the objects to be constrained.
- Click Active to activate the constraint.
NoteRotating or scaling the source objects does not alter the constrained object.
See 3 Points constraint settings.
 Except where otherwise noted, this work is licensed under a Creative Commons Attribution-NonCommercial-ShareAlike 3.0 Unported License