The 2D display settings let you customize the look of the 2D Handle and the Handle’s knob so you can easily identify and select it.

Handles: 2D Display properties
Customizing Handles is a good idea if you have a crowded scene where you cannot easily select the Handle without selecting something else.
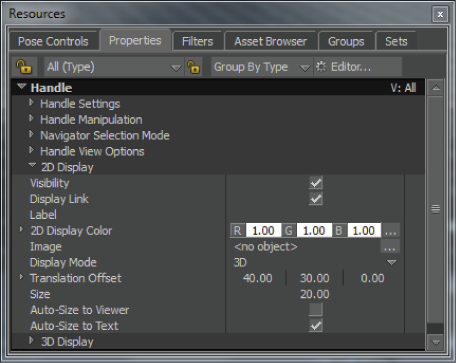
Select the Handle to display the Handle settings in the Properties window.
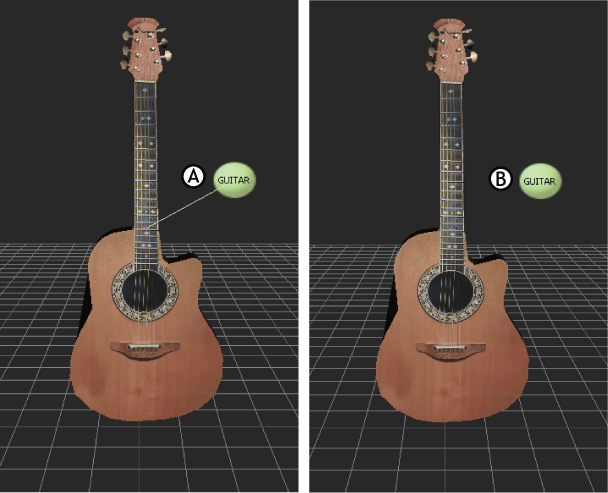
Lets you show or hide the line that displays between the Handle knob and the Follow object.

Show Link option A. The Show Link option is active. B. Show Link is disabled.
Click the Label field to give the Handle a name that appears on the handle.
This is not the same as renaming a handle in the Scene browser.
Use the Color R, G, and B fields to set a different color for the 2D Handle. (The default is white.)
Attach an image to your Handle so you can identify it quickly in crowded scenes. To do so, click the Asset List button in the Image field and select an image from the Asset list.
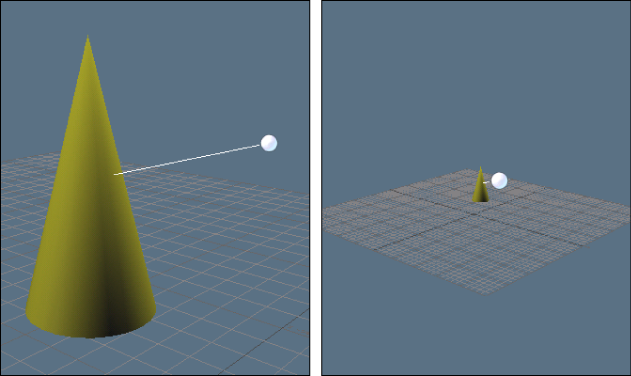
Activate to make the Handle a consistent size Label text, no matter how far away you get from it.

Activate Autosize to Viewer to make the handle the same size no matter how close you zoom in.
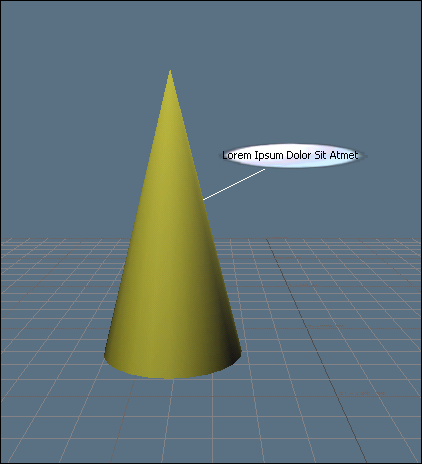
Activate to make the 2D Handle accommodate the label text (Label field), regardless of the Handle size or camera distance.

Using Auto-Scale to Text, the handle accommodates any text entered in the Label field
 Except where otherwise noted, this work is licensed under a Creative Commons Attribution-NonCommercial-ShareAlike 3.0 Unported License