Use the Audio settings to record audio files in .wav format.
To record .wav files with the Audio settings:
- Select the hardware that you want to use to record a .wav file in the Scene browser.
TipWhen recording, monitor the audio levels to make sure that a waveform appears. Otherwise, your .wav file may be inaudible.
- Activate both the Online and Record options.
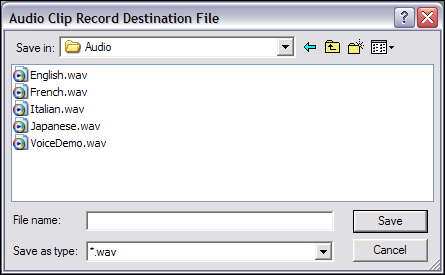
- A dialog box appears so you can select a location to save your .wav file.
- When you are ready to record, click Record in the Transport Controls.
- Both the path and file name of the new .wav file appear in the field beside the Record button.
- Select Overwrite or Create in the Record Path dialog box.
- If you select Create, the Record Path dialog box appears asking if you want to copy the current take.
- Cue the audio for recording using the Record button in the Transport Controls window.
- Click Play to begin recording, and click Stop to end it.
- A .wav file is created and added to the chosen directory as well as to the Audio folder in the Scene browser.
To hear your recorded .wav file, select the .wav file from the Audio folder, and click Play in the Transport Controls window.
To record in mono or stereo:
- Before recording, select an option from the Audio Device Settings > Use Channel menu:
- Select 1 to record in mono. Mono audio sources contain a single channel and display one waveform.
- Select 2 to record in stereo. Stereo audio sources contain separate left and right channels and display two waveforms.
- Creating an audio delay
- Connecting to an audio device
 Except where otherwise noted, this work is licensed under a Creative Commons Attribution-NonCommercial-ShareAlike 3.0 Unported License


 Except where otherwise noted, this work is licensed under a Creative Commons Attribution-NonCommercial-ShareAlike 3.0 Unported License