Constraining an object’s translation with another’s translation


  1. Select a Position constraint from the Asset browser’s Constraints folder and drag it into the Viewer window.
    • If you drag it into an empty area of the Viewer window, the Position constraint template appears in the Constraint settings.
    • If you drag the constraint on top of an object, a contextual menu appears asking if you want to assign the object as the constraint’s Source or Constrained objects.

      Constraint contextual menu

  2. Assign the object that you want to position and translate in the scene based on the position and movement of one or multiple source objects to the Constrained (child) object cell.
  3. Assign the object that you want to derive the translation information from for the constrained object to the Source 1 (parent) cell.

    When you drag an object into the Source 1 cell, another source (Source 2), is added to the Objects pane. If you drag a second source into Source 2, the position of the constrained object is derived from the position of the two source objects.

    You can have as many sources as you want, so you can create complex Position constraints.

    NoteWhen more than one source is specified, the constrained object is placed at the middle point between all source objects.
  4. For example, in the following figure, A, illustrates a constrained object to the left of three objects in a triangle formation. When the constraint is activated, the constrained object moves to become equidistant from the three source objects, as shown in B.

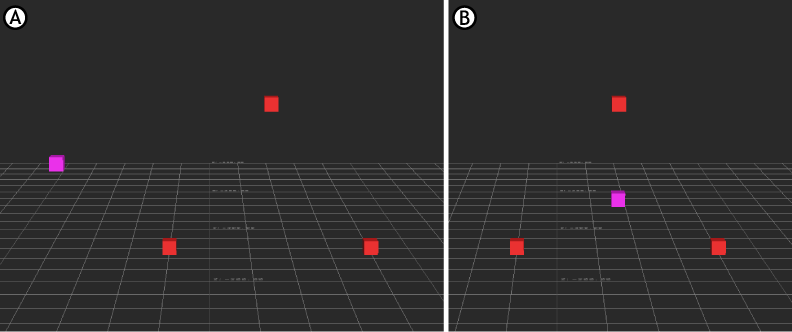
    Position constraint A. Pink marker: a constrained object B. The Position constraint is activated

  5. Click Lock in the Constraint settings to lock the position of the objects to be constrained.
  6. Click Active to activate the constraint.