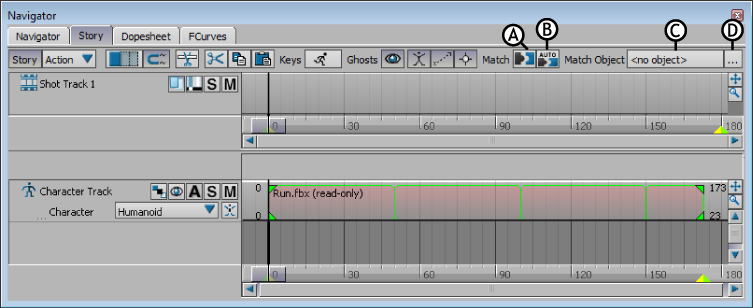
When you blend animation in the Story window, it is important to match the animation between each clip. You can match a selected
clip to the clip that comes before or after it along a track.
You can also match more than one clip at once by selecting all but the first clip.
To match a clip:
- Select the character to which you want to match clips in the Character track’s Character menu.
Note
The Match Controls are active only when an animation, camera animation, or character clip is selected.
- If you have not done so, add two motion clips to the Character track and push them together so that there is no gap between
them.
Note
It is a good idea to use two motion clips that you have edited to facilitate matching. If the end of the first clip is similar
to the beginning of the second clip, for example, the Character’s left foot is flat on the ground, the match is smoother,
and you will have less fine-tuning to make.
- Click the Animate (A) button in the Character track controls so you can create animation.
- Select the second clip on the Character track.
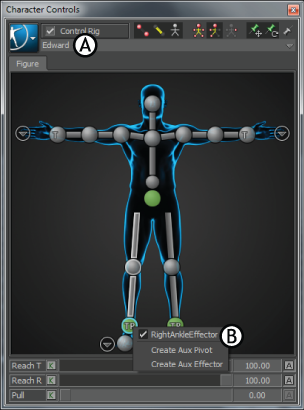
- In the Character Controls, select the character from the Character menu, and right-click a character effector to select it
to be the Matching object, for example, the character’s right foot.
Note
You can also select the matching object from the Viewer window or the Schematic view.
- Click the Match Options button in the Story controls.
- The Match Options dialog box displays with the name of the selected node appearing in the Match Object menu.
- Activate the appropriate matching options for the match you are trying to create. For a description of options in the Match
Options dialog box, see Match options dialog box.
- Click OK.
The clips match using the new match object.


