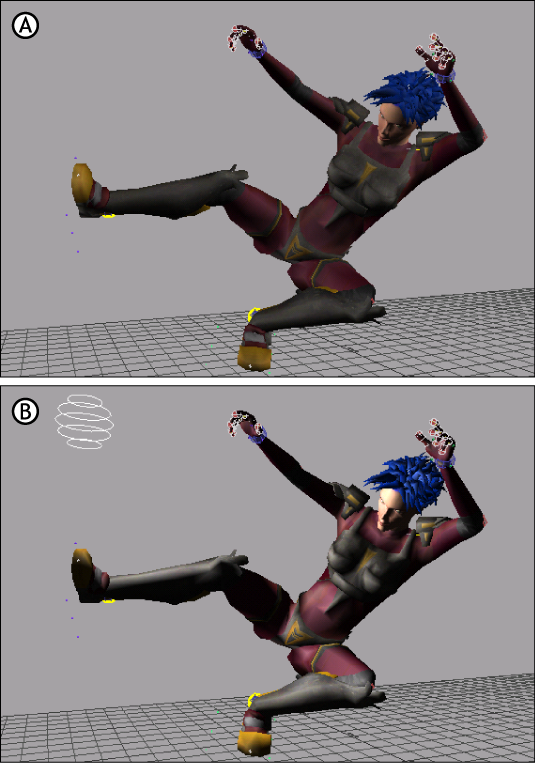
Lights are used to light your scene, and create special effects. They behave exactly like theatrical lights except that you can put them anywhere, even inside objects.
To add a light to a scene, drag a Light asset from the Asset browser Elements folder into the Viewer window. The new light is added to the Lights folder.
When you add a light, it is a Point light by default and the Global (ambient) light is extinguished. For example, the following figure shows the scene illuminated using the default Global light (A) and an added Point light (B).

Default and added lights A. Global light B. Added Point light
Rename a light by right-clicking it in the Lights folder and selecting Rename from the contextual menu.
To remove a light from your scene, right-click the light in the Scene browser’s Lights folder and select Delete from the contextual menu. You can also select the light in the Viewer window and press the Delete key.
You can add an unlimited number of lights to a scene, however due to graphics card limitations, you can see only the effects of the first eight lights.
To add a light without lighting objects:
This lets you use the light as an effect in the scene without illuminating objects.
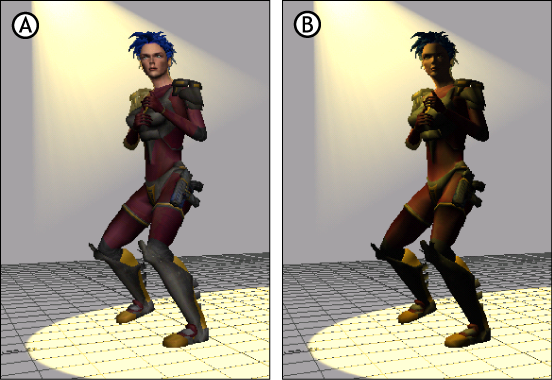
For example, the following figure shows a model with Cast Light On Object disabled and activated.

Cast Light On Objects A. Disabled B. Activated
When the Cast Light On Object option is activated, objects are lit. When the setting is disabled, the light effect exists but does not affect the object. Disabling Cast Light On Object also speeds up the display time.
This effect can also be provided by the Selective Lighting shader. For more information, see Selective Lighting shader settings.