Creating custom icons


You can create your own custom icons in the Asset browser so you can identify your .fbx files.

There are two ways to create custom icons. You can either render a thumbnail image from one of your scenes, or you can supply an image our your own.

The quickest way to create an icon for a particular .fbx file is to load the scene, then render a thumbnail image of an identifiable part of the scene.

To render a thumbnail image:

  1. Select the Producer Perspective camera in the Viewer window.
  2. Position the camera view so your scene is well-represented.
  3. Choose File > Render Thumbnail from the menu bar.

    The Thumbnail Preview window appears. The thumbnail is based on the current frame and the position of the current camera.
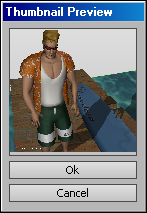
    Thumbnail Preview window

  4. Click Ok to accept the thumbnail or Cancel to adjust your camera and retake the thumbnail.
  5. Save the .fbx file for the thumbnail you created.
  6. Right-click in the Asset browser and select Refresh Directory from the contextual menu.

    Your custom icon displays to represent the .fbx file.

To draw a custom icon:

  1. In your chosen image creation software, create an image measuring 36 x 36 pixels in .tif format.
  2. Save the image file at the same directory level as the corresponding .fbx file.
  3. Name the file using the main file name followed by .fbxicon.tif.

    For example, if your .fbx file is “Mia.fbx”, name your icon file “Mia.fbxicon.tif”.

    When your .fbx file displays in the Asset browser, the custom icon replaces the default MotionBuilder icon, as shown in the following image.
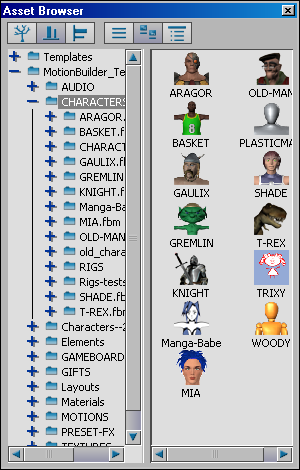
    Asset browser showing custom icon

    NoteIf your .fbx file has both a thumbnail and an image icon, the rendered thumbnail is shown.