To set the Joint Tool settings
 .
.
 before creating a joint to automatically center it in your model.
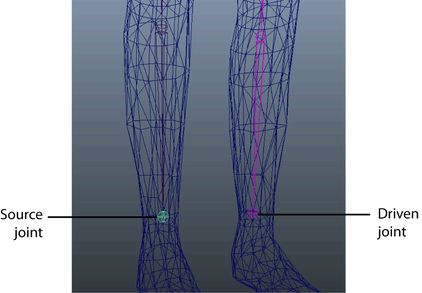
The first joint, the source joint, is created. A second joint, the driven joint, is also created and is constrained to the source joint by a symmetry connection.

All driven joints and joint chains appear pink so they can be easily identified.
 (Windows and Linux) or
  (Mac OS X) to complete your joint chain.
Now when you modify the source joint, the driven joint updates symmetrically.
 Except where otherwise noted, this work is licensed under a Creative Commons Attribution-NonCommercial-ShareAlike 3.0 Unported License