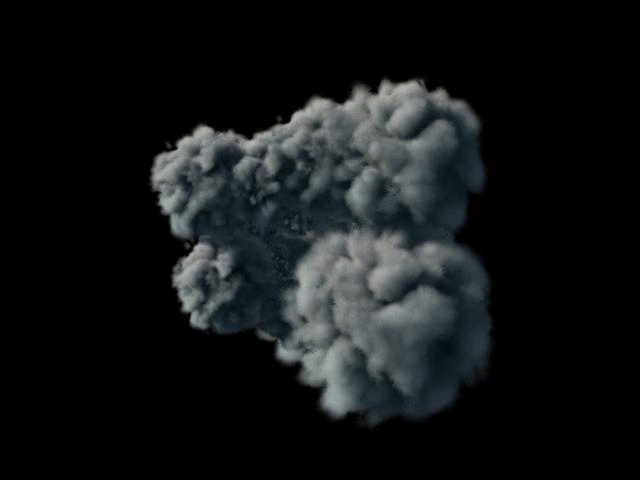
Creating an nParticle system involves selecting an nParticle style, and then choosing a method to create the nParticle object. The type of nParticle effect you want to achieve determines which nParticle style and creation method is most suitable for your simulation.
Before you create an nParticle object, you can specify general appearance and behavior characteristics of the particles by selecting an nParticle style. nParticle styles are like templates as they provide preset attribute settings for the nParticle object’s appearance, size, Particle Render Type, Radius, Mass, and collision-related properties. You can use an nParticle style as the starting point for your simulation, and then adjust specific attributes to suite your needs. See Select an nParticle style.
When choosing an nParticle style ask yourself questions like the following:
After selecting an nParticle style, you can use one of the four methods to create an nParticle object:
When choosing a method to create your nParticle object, ask your self questions like the following:
When you create an nParticle object, a new nParticleShape node and a Maya Nucleus System node are created. If your nParticles are emitted, an emitter node is also created.
Using the nParticle Tool, you can create individual nParticles, nParticle grids, and random collections of nParticles. The nParticle Tool allows you to position an exact number of particles in specific areas of your scene. nParticles created using the nParticle Tool are static in the first frame of the simulation, but can be animated by Nucleus forces and by collisions with Nucleus objects, including other nParticle objects. You can attach static nParticles to moving Nucleus objects, such as animated nCloth, using Nucleus nConstraints. Like other Maya objects, nParticles can be manipulated by external dynamic forces.
Create Emitter and Emit from Object
Using Create Emitter or Emit From Object, you can emit nParticles into your scene as a simulation plays. When you use an emitter to create nParticles, an Emitter node is automatically created and attached to the nParticleShape node.
As the simulation plays, the emitter generates nParticles and the particle count of the connected nParticle object increases. Emitted nParticles can collide with nCloth objects, passive objects, as well as other nParticle objects. The energy and velocity of emitted nParticles can be transferred through collisions to deform nCloth objects or other nParticle objects. Setting emitter properties, such as Emitter type, emission rate, speed, and direction, can determine how emitted nParticles collide and interact with Nucleus objects.
You can use Fill Object to fill polygon geometry, including modeled geometry, nCloth objects, or passive objects. The geometry that is to be filled must have a potential volume, meaning that it must have a concave region that can contain the nParticles. For example, polygon planes cannot be filled with nParticles.

When filling geometry with nParticle objects, you can specify lower and upper fill boundaries along the geometry’s X, Y, and Z axis. The fill boundaries are relative to the X, Y, and Z axis of the target geometry's bounding box. For each respective axis, a maximum fill setting of 1.0 completely fills the geometry along that axis. For example, a Max Y setting of 0.5, fills the geometry half way to the top of its bounding box (Y axis) with nParticles. You can also specify the total number of nParticles that fill the geometry using the Resolution control, and nParticle size using the Particle Density control.
The following procedure outlines a general workflow for creating an nParticle system with an emitter, as well as a passive collision object to collide with the nParticles.