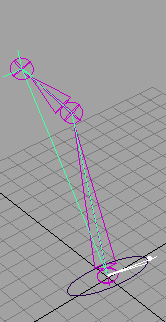
While animation curves and key information exist for an IK handle, there is no information available for an IK joint because its position is determined by the animation on the IK handle. To view and edit the animation information of an IK joint, perform a bake simulation.
To create keys for an IK joint by baking

 .
.
Maya steps through the animation. It evaluates the scene for each time interval specified in the Sample By field and places a key at each time.
If you are baking the animation of a Full Body IK system, you must ensure that the attributes of the skeleton are keyable. To make the skeleton keyable, select the root joint of your skeleton and open the Channel Box. Highlight all the attributes and right-click. Select Make Selected Keyable from the marking menu.
To create animation curves for a driven key using Bake Channel
 .
.
The Sample By value is based on the Time Unit setting. It represents the frequency with which Maya analyzes the object’s animation and generates a key. A value of 1 creates a key for and at each time unit. High values will decrease the frequency of generated keys, and low values increase the number of keys created.
To generate animation curves for these animation types, select Edit > Keys > Bake Simulation.
To set Bake Simulation options
 .
.
The Bake Simulation Options window closes.
The Bake Simulation Options window remains open.