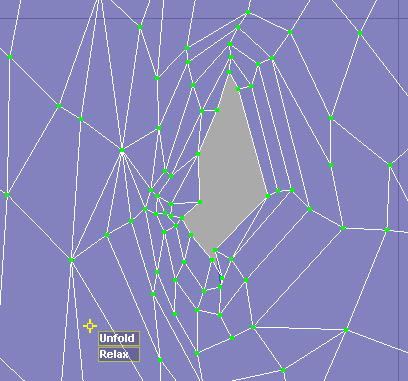
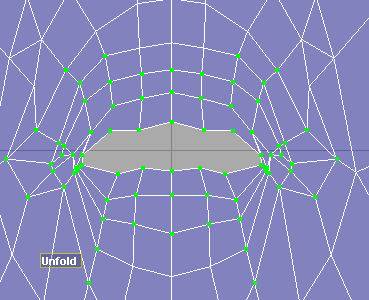
You can use the to relax or unfold an entire UV shell into the UV space. You can then use the same tool to fix small imperfections in the
shell.
The following workflow provides the following benefits:
- It is easier to assign a texture to a square area.
- Ensures the texture is spread evenly.
To map a shell to the UV space
- Create a mapping for your object by selecting from the menu set.
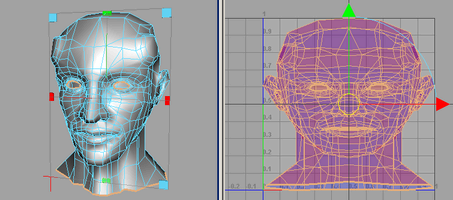
In this case, a planar projection from the front (the Z Axis) is appropriate. In other cases you must determine the best projection
to start with.
- Open the ().
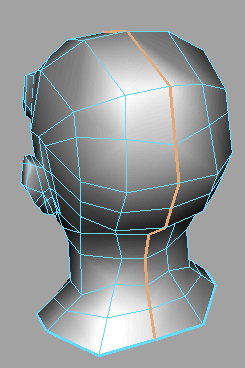
- In the perspective view, select a path of edges along the back of the head starting at the top of the forehead and ending
at the bottom of the neck.
- In the , select .
- Select the central UV at the top of the forehead and in the , select >
 .
.
The window appears.
- Turn on and .
- Set the constraint to .
- Click .
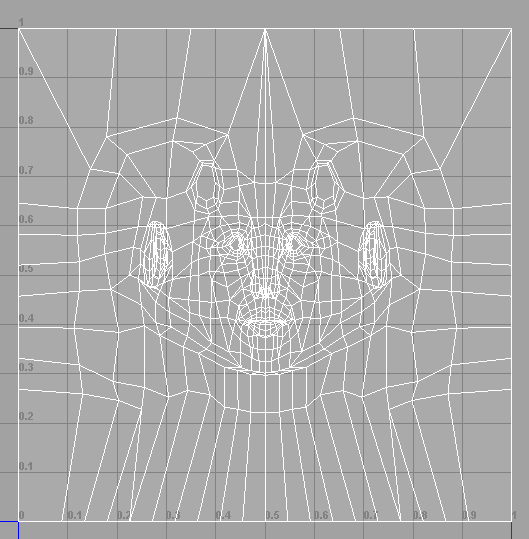
The UV shell unfolds relative to the selected UV on the forehead so that the previously cut edges are spread out horizontally.
Note
Rather than using the option, you can also use the to unfold the entire UV shell. In this case, you would select all the UVs except for the one at the top of the forehead and
then  + drag the icon to the right.
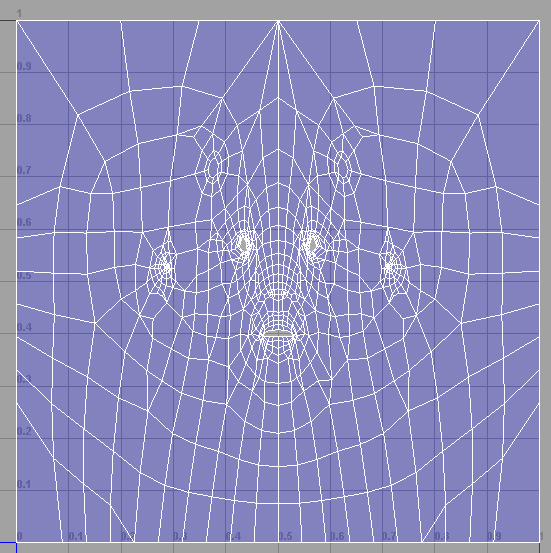
- Use the to scale the UV shell into the 0,1 texture space.
- Select the edges on one side of the mesh.
- Select .
The UV border straightens.
- Repeat steps 10 and 11 for each side of the UV shell.
- Turn on the option.
- Select the and move the border UVs to the edge of the 0,1 texture space.
The option ensures that the UVs snap to the border precisely.
- Select all the UVs.
- Select >
 .
.
The window appears.
- Turn on .
This ensures that the UV border aren’t distorted.
- to .
- Click .
Two controls named and appear.
- Drag the control to the right.
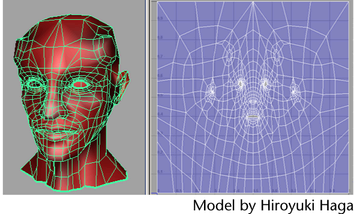
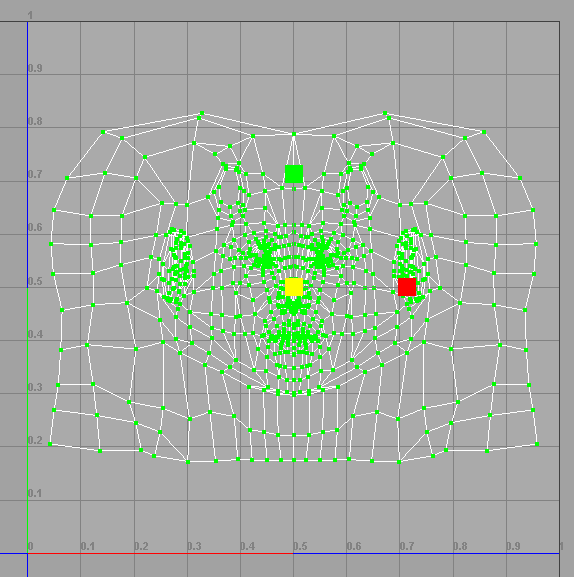
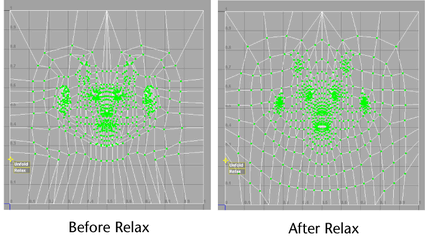
The entire UV shell, except for the borders, relaxes evenly.
With the you can use your eye to judge how much the UV shell should relax. However, whether you use this method or the option (), it is unlikely that the UV shell will be perfect.
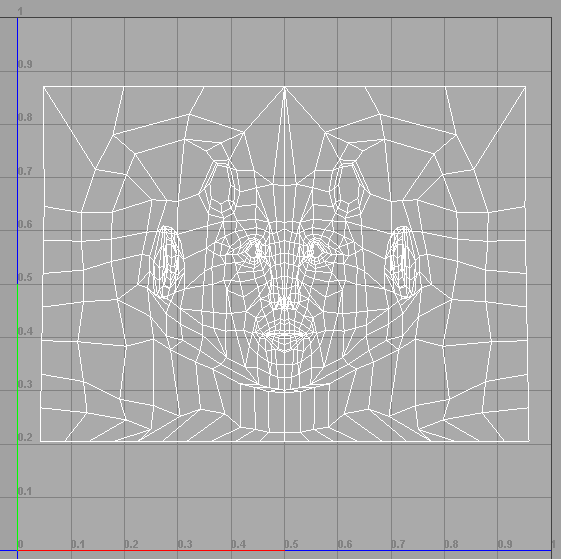
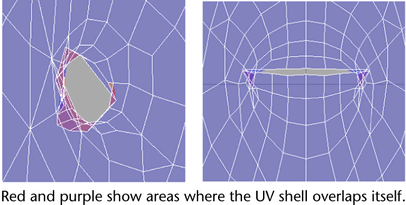
If you turn on the  , you can see small imperfections in your relaxed shell. For example, the UV shell around the eyes and corners of the mouth
for this model cause the shell to overlap itself.
You can use the to smooth out these problem areas.
To smooth imperfections in a relaxed shell
- Select >
 .
.
The window appears.
- Turn off and then select .
- Select a set of UVs around the eye.
- Drag the control to the right until the UV shell no longer overlaps itself.
- Repeat for the mouth.
- You can select smaller or larger sets of UVs and use the in conjunction with the transformation tools to quickly clean up your UV shell.
 .
.
 .
.
 , you can see small imperfections in your relaxed shell. For example, the UV shell around the eyes and corners of the mouth
for this model cause the shell to overlap itself.
 .
.
