This example shows you how to use assets and file referencing together to quickly substitute objects in your scene without losing any behavior.
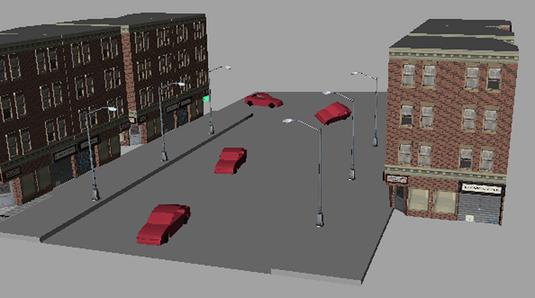
Consider a low polygon car referenced into a city scene, then scaled and animated.

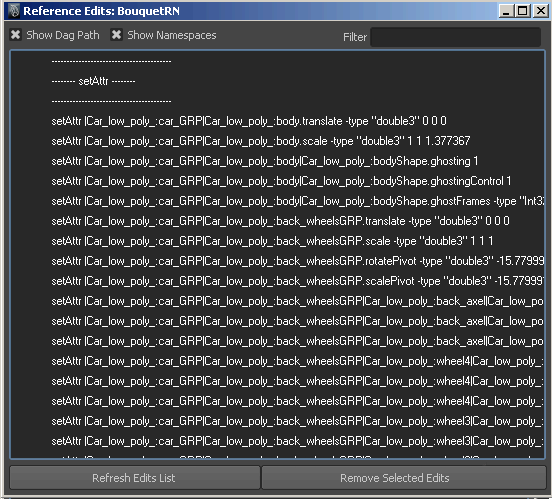
In its source file (Car_low_poly.ma), the car model is organized under an asset named Car_AST. The asset’s published attributes include the car’s Translate and Rotate values as well as the spin of its wheels and the left and right turn of its front wheels. In the parent scene, the animation is achieved by modifying these published attributes. These are called reference edits and are stored in the parent (City.mb) file.
You can view reference edits by selecting File > List Reference Edits from the Reference Editor.

Now consider a second car model that you want to replace the old car model. This new car resides in its own file (Car_high_poly.ma).

The second model has a different structure and additional nodes compared to the original model for extra details such as the steering wheel, windows, side doors, and trunk.
More importantly, this second model is organized under an asset with the same name (Car_AST) and the same published attributes as the original car. This is crucial since the reference edits of the parent file are stored by published names. Optionally, it may also have additional published attributes to control the state of the doors, windows, and other details not present on the old car.
You can now exchange the old car in the city scene by replacing the existing reference with a reference to the new car.
To replace the car being referenced by the city
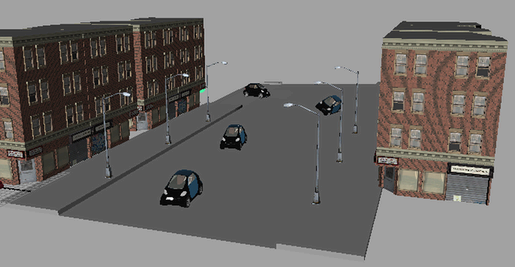
The old car is replaced with the new car with the appropriate scaling. If you playback the scene the new car also follows the old car’s animation.
Since reference edits are stored in the parent scene according to the published names of an asset, you can replace the car with any referenced asset with the same name and published attributes. This allows you the flexibility to try different options in a scene without breaking it.

This example uses the Reference Editor and the Replace Reference command. However, you could also use the Transfer Attribute Values command to achieve the same result. To do this you would place both cars in the same file and transfer the attributes of the original car to the new car. For an example of this alternate workflow, see Example: Swapping arms on a robot.