Creates a surface by filling between boundary curves.
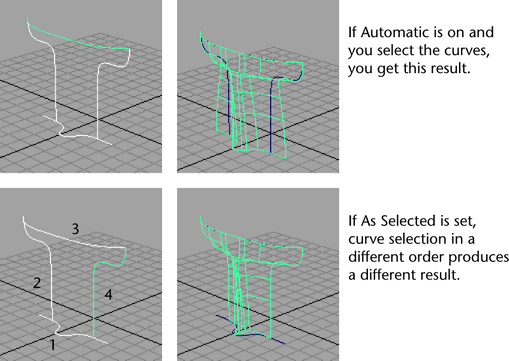
Automatic creates the boundary with an internal decision process. As Selected causes the curve selection order to determine the resulting surface.
In the following figure, the first surface is created by selecting the curves while Automatic is selected. The second surface is created when As Selected is the option setting and you select the curves in a different order.
The Common End Points options let you decide whether the end points should match before the boundary surface is created.
If you select Optional, the surface is created even if the ends of the curves don’t match. This is the default.
If you select Required, the boundary surface is only built if the end points of the curves match exactly.
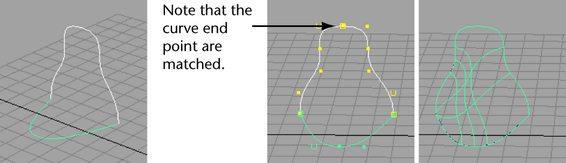
To make sure the end points match, remember to select a snap mode from the Status Line when drawing your curves.
To match the end points after you draw the curves:
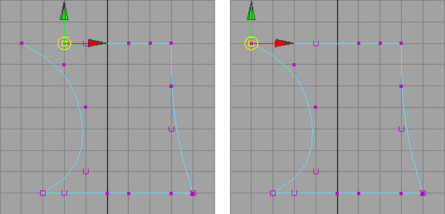
If you select Required as the Common End Point option, you can change the End Point Tolerance value of the end points to set how close they must be in order to be considered coincident.
Global tolerance causes Maya to use the Positional value in the Settings part of the Preferences window.
Local tolerance lets you enter a new value to override the Positional value in the Preferences window.


