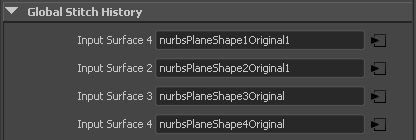
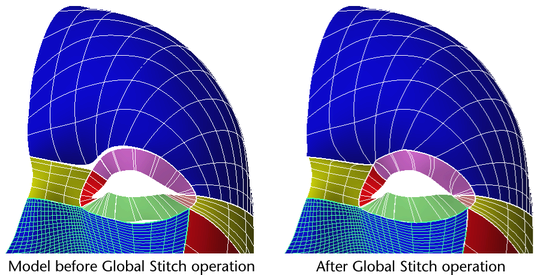
Global Stitch is useful for preventing adjacent surfaces from splitting apart during animation in situations where deformations could pull the edges apart. It works by automatically stitching two or more adjacent surfaces together. Even though the surfaces become stitched, they remain as separate entities. A Global Stitch node is created to maintain the relationship between the surface edges. Global Stitch can also close small gaps in adjacent surfaces as part of the stitch operation.
For example, if you create a human face from multiple surfaces, then use clusters and lattices to deform facial characteristics, Global Stitch can be used to prevent the surfaces from splitting apart as you deform the face.
 .
.
Global Stitch stitches the surfaces. You can adjust the stitch attributes in the Attribute Editor if you need to enhance or change any stitch settings.
Rebuild the surfaces to have a parameter range running from 0 to the number of spans.
You can “lock” certain surfaces so they won’t deform (the surfaces stitched to them will deform more to maintain stitching).