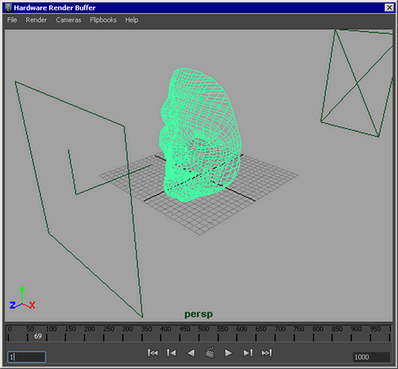
Before you can preview or render hardware particles, you must set up the . For complete information on setting up the , see Hardware Render Buffer window in the Rendering guide.
The following procedure describes a typical set up; you may decide to use a slightly different procedure.
To prepare to preview or render hardware particles
- Select Window > Rendering Editors > Hardware Render Buffer.
The is displayed.
- From the menu, select the camera you want to render from.
Tip
You can adjust the camera’s view within the using the Alt (Windows and Linux) or Option (Mac OS X) key and the mouse buttons.
- Select .
The is displayed.
- Set the following attributes:
|
|
The base name for all rendered image files.
|
|
|
The format of the extension(s) added to the base name for all rendered image files.
|
|
|
The first frame to render.
|
|
|
The last frame to render.
|
|
|
The increment between frames that you want to render.
|
|
|
The format for saving rendered image files.
|
- Do one of the following:
- To use a standard image resolution, click the button to the right of the Resolution attribute and select a preset image resolution.
- To use a custom image resolution, in the field type:
<formatName> <width> <height> <deviceAspectRatio>
For example, type:
- Do one of the following:
- If you plan to composite the hardware rendered image(s), set to either (if your computer has a hardware alpha buffer) or .
- If you do not plan to composite the hardware rendered image(s), set to Off.
- If you plan to composite the hardware rendered image(s), and will need depth information during compositing (that is, the
distance that particles are from the camera), turn on .
