


You can design your own preset where you design the UI with options and settings specific to you needs. You can then share this preset with others.
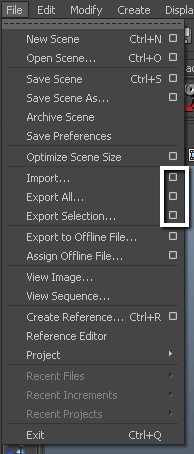
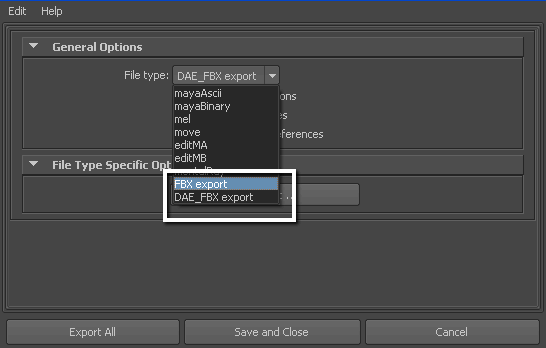
File type menu
The Edit Preset button appears in the File Type Specific Options rollout.

Edit preset option
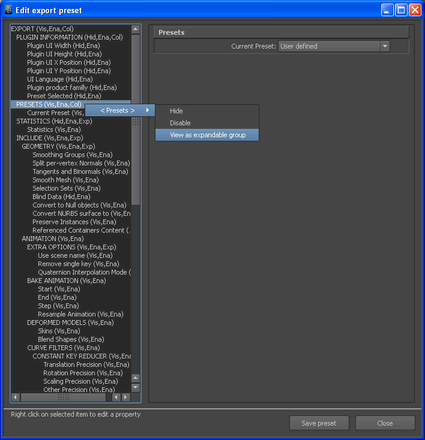
Some edit options are common to all structure levels, while some are specific to a particular structure level. You can apply some options at any level of the options structure. See Edit mode options.
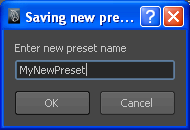
The new preset appears in the Maya FBX plug-in the next time you load Maya.

The Maya FBX plug-in stores custom presets in a file so you can share them with other users. You can find custom preset files in My Documents\Maya\FbxPresets directory.
Bake Animation Start/End/Step values cannot be saved in presets. The Maya FBX plug-in always derives these values from the exported scene. For more see Preset Bake Animation settings