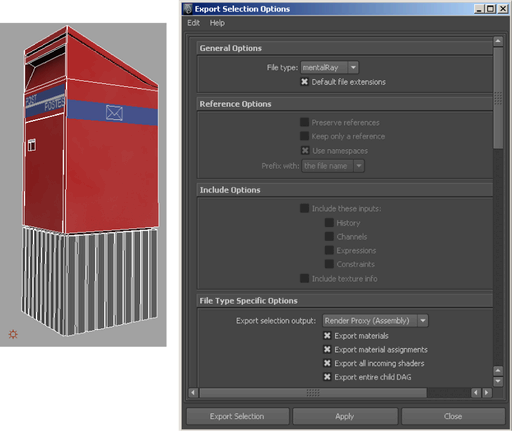
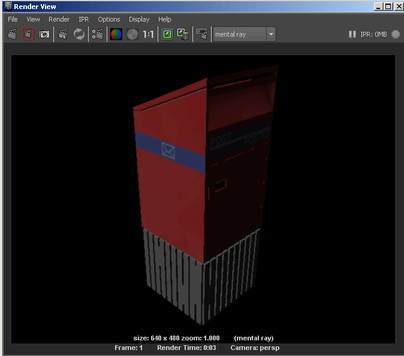
Use render proxies to manage large scenes with complex geometry. If your scene includes a complex piece of geometry, you can first export the object as a mental ray assembly file, and then replace it in your scene with a placeholder object that references this file. When you render, the exported object is loaded into memory and rendered with the rest of your scene. The overall translation is instantaneous, since there are virtually no geometries being passed to mental ray. Translation time and memory usage are therefore drastically reduced, allowing mental ray for Maya to render large scenes.
The use of render proxies can cut down translation time and memory usage in several ways. First of all, complex geometry is never loaded into Maya. It is only loaded into mental ray if necessary. If the proxy is occluded or behind another object or behind the camera, then it is not loaded. Also, the texture file associated with the render proxy is not loaded unless the proxy is. Furthermore, mental ray for Maya can also unload the entire render proxy during rendering in order to reduce memory consumption.
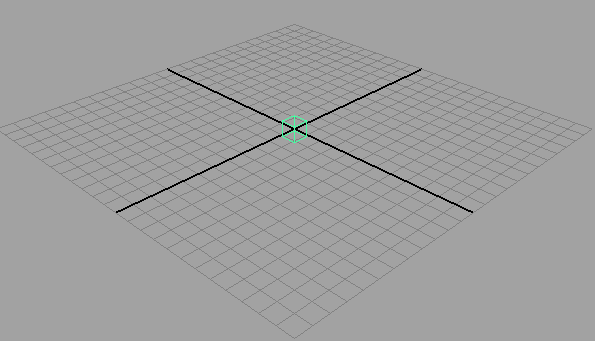
Create a render proxy as follows:
 . See File > Export All, Export Selection (mental ray) for more information.
Rendering your scene using a render proxy

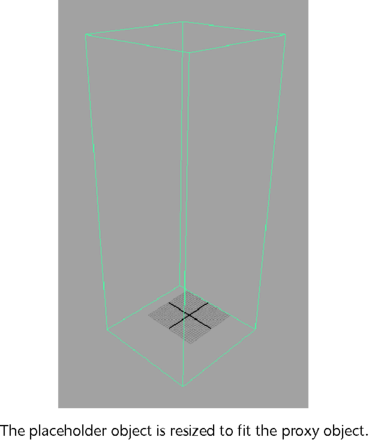
Assign the proxy file before animating the placeholder. The Freeze Transformations operation fails if the transformation has incoming connections. Therefore, you should animate the placeholder after assigning to it the proxy file.


