The Maya FBX plug-in is available for Mac OS X 10.6.
To install the Maya FBX plug-in:
- Download the TGZ file from the Autodesk web site (www.autodesk.com/fbx) to your desktop.
- Double-click the TGZ file to extract the Installation disk image.
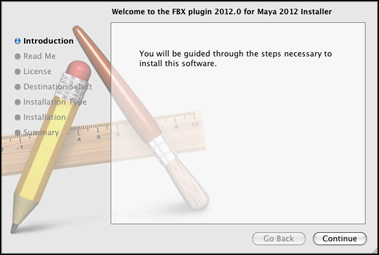
- Double-click the package icon to start the installation. The pane appears.
- Click to start the installation process. The pane appears.
- Read the License Agreement and click . A dialog box appears asking if you accept the terms and continue with the installation.
- Click to accept. The pane appears. Select the destination disk where you want to install the Maya FBX plug-in and click .
- The pane appears. Click .
- A dialog box appears asking you to enter your name and login password to continue the installation.
NoteYou must obtain administrator privileges to continue installation.
- The installation begins. A progress bar indicates the time remaining of the installation. When the progress reaches 100%,
the pane appears.
- Click to exit the installation program.
- Start Maya and navigate to > > .
NoteThis installs the Maya FBX plug-in to the following directory: <Macintosh Drive>/Applications/Autodesk/maya<ver>/Maya.app/Contents/MacOS/plug-ins, where <ver> is the version of Maya you have installed.
- Activate the option for Fbxmaya.bundle in the .
- Activate the Fbxmaya.bundle option so Maya loads the Maya FBX plug-in automatically at start-up.
NoteThe FBX readme file is available during the installation process. An option to save the readme is offered at this time. This
lets you save the readme so that you can determine where to store it.