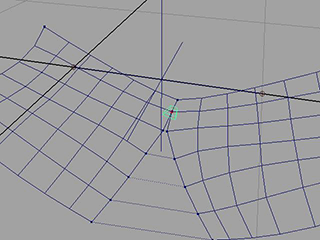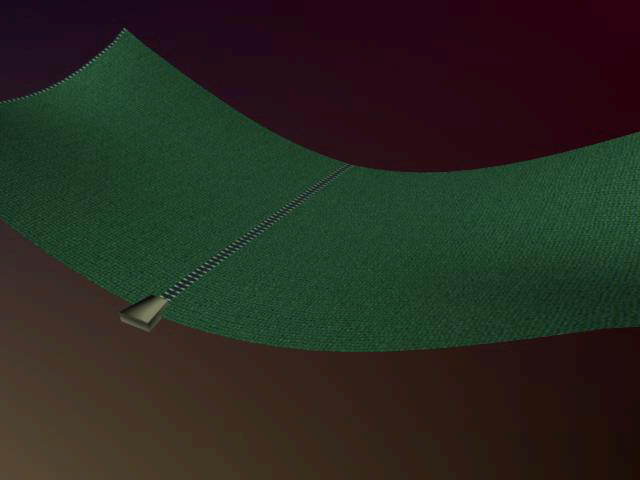
This example will show you how to create a zipper for your nCloth.
In order to create a zipper, you will first create a pair of nCloth objects for the zipper to connect.
To create the Input Mesh for your cloth
 .
.
A second plane identical to the first plane is created in the same position.
To place the planes side by side
The second plane moves to the right such that the edges of the two planes touch.
 -click the other to select both.
To prevent the cloth from uniformly falling, you need to constrain its corners.
To constrain the corners of the cloth
 -select both nCloth planes.
 -click the nCloth and select Vertex from the marking menu to switch to Vertex mode.
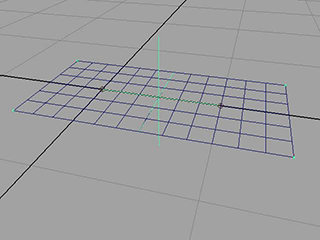
The pair of nCloths are now held in place by their corners. Both cloths fall at the point where they join.
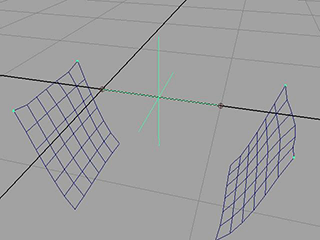
To join the two nCloths at their center
Since the edges of both nCloths are on top of each other you may have difficulty choosing all the vertices on both planes. To make this process a bit easier, you can move the planes slightly apart from each other and then select the vertices. If you do this, make sure to return the planes to their original position before continuing with this example.
The two nCloth objects are now joined at their center.
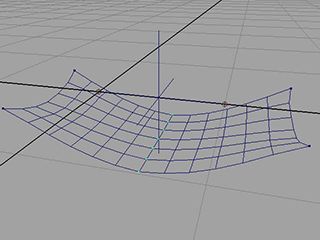
The Weld setting ensures that there is no space between the two nCloth objects.
To control the state of the zipper, you need to add a ramp texture to the Strength Map Attribute. This allows you to control the strength of the component to component bond between the two nCloth objects.
 .
.
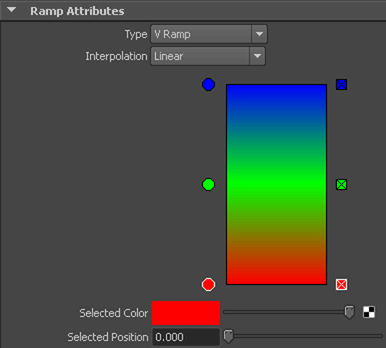
The top of the color ramp changes to white.
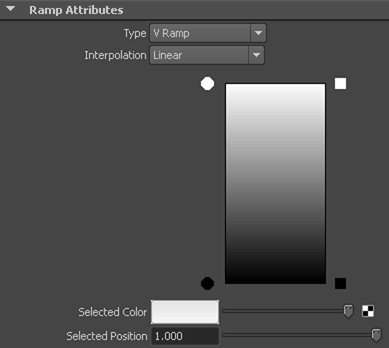
When you adjust the Selected Color slide bar during playback, the two planes zip and unzip.
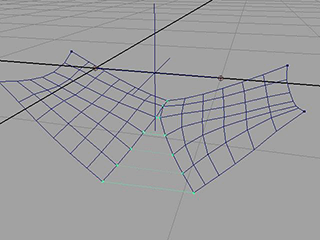
Although adjusting the Selected Color produces the desired result, it is not the only possible method for controlling an nCloth zipper. You can use Texture Placement to achieve the same effect with a greater degree of control.
You can use the second value of the Offset attribute to adjust the state of the zipper during playback. A value of 0.55 produces a fully zipped state whereas a value of 0.175 produces a fully unzipped state.
You can now animate the zipper by keyframing the Offset value.
To control the zipper, you will need to create a zipper model and a hair follicle.
To create a controlling follicle
 .
.
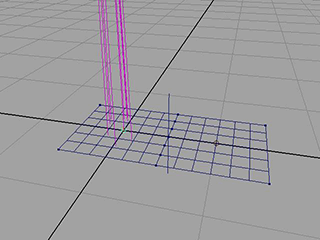
A single hair follicle with a number of hairs appears. For this example you will only make use of the follicle, not the actual hair.
 .
.
 .
.
You now have a single follicle that you can use to control the zipper. You now need a model to represent the zipper.
 .
.
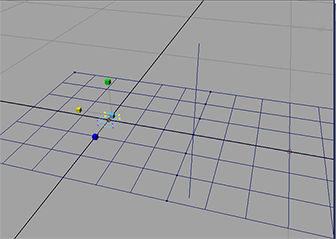
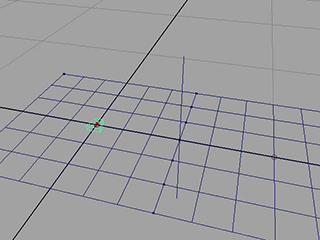
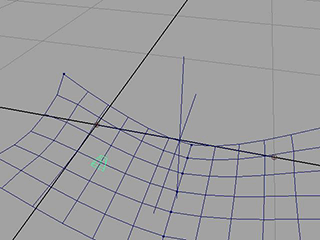
The zipper now sticks to the cloth.
Creating an expression for a zipper
In order for the zipper to behave properly it needs to be associated with the Offset V attribute that controls the state of the two nCloth objects. To do this you need to assign an expression that will drive the zipper’s interaction.
The zipper should now be aligned with the center of the cloth. Adjusting the Parameter V attribute from 0 to 1.0 should now also move the zipper up and down the length of the edge.
place2dTexture1.offsetV = (1-pPlane1FollicleShape5050.parameterV) * 0.25 + 0.25
Your zipper is now finished. To open and close the zipper you can now adjust the Parameter V attribute of the pPlane1Follicle5050.
