You
can also use the Composition Browser to manually set keyframes.
The following procedure uses the same example of adjusting the amount
of gray in an image.
NoteIt is assumed that
the film footage is loaded and that the Gray tool has been added
to the dependency graph.
To animate the amount of gray in an image
using the Gray tool in the Composition Browser:
- Expand the Gray tool in the Composition
Browser.
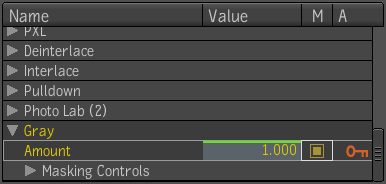
- Mark the Amount attribute for keyframing
by selecting its radio button in the M column.
- At the first frame, leave the initial
value as is.
- Select the Set Keyframe button to set
a keyframe on the Amount attribute.
A green line appears
over the attribute’s value, indicating a keyframe has been added
for this attribute at that frame.
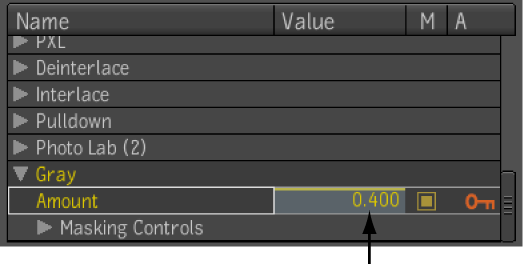
- Move the time cursor in the Player navigation
bar to frame 30.
NoteWhen you move the
time cursor to the next frame, you will notice that the green line
turns red, indicating that the attribute is animated, but has no
keyframe at the current frame.
- Click in the value editor in the Composition
Browser and either type the new amount of gray, then press Enter,
or drag inside the value editor.
- Repeat steps 4 to 6 as required.
- Select Frame or Frame All to see the
curves in the Animation Editor.