A scene is a specific sequence of shots (or a scene) within the project. You can create as many cuts per scene as needed.
When you create a scene in Lustre, a directory with the same name is created in the Project Home. With the exception of dust removal data and marry grades, the metadata for all changes made to the cuts associated with the scene is stored in a sub-directory of the scene directory. This directory is called sacc_data and includes files containing metadata for the grade, cut, as well as render, gang, and bin information. The metadata is contained in files— for example, the grade metadata is stored in a file named grdxx.grade, where xx is the number of the grade file, and the cut metadata is in a file named cutname.cut, where cutname is the name of the cut.


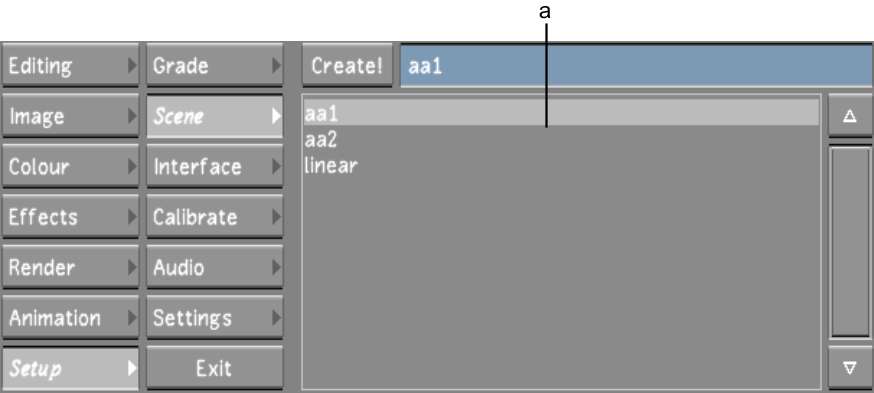
(a) Scene list
The new scene is added to the Scene list. It is highlighted in grey, indicating it is the currently selected scene.


