When creating a mesh, you anchor the mesh to the surrounding area. To ensure this, create the mesh over a slightly larger area of the image than the part you want to affect. For example, to warp a person's mouth, extend the mesh to cover the lower half of the person's face. This “anchors” the area surrounding the warp so that it is not affected by the warp. You begin by defining the number of patches in the mesh and then placing it over the required area in the image.


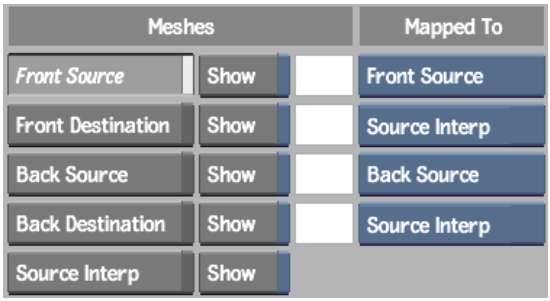
| Click: | To create: |
|---|---|
| Front Source | The front source mesh. |
| Front Destination | The front destination mesh. |
| Back Source | The back source mesh in a morph. |
| Back Destination | The back destination mesh in a morph. |
For information on when to create each type of mesh, see Warping and Morphing.
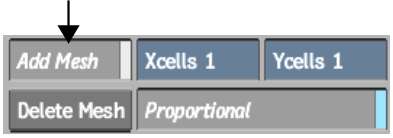
Enable the Proportional button to automatically set the X and Y cells fields to the same value.


