


Viewing Clips in the LUT
Editor
Your view options depend on the location from which you access the LUT Editor. When accessed from the Import Image menu, you can view the current result and compare it with a reference clip.
When you access the LUT Editor from Batch, your view options are greater, based on the view options available to you in Batch. You can view the current result and compare it with a reference clip. You can also display the reference area to compare the results of one LUT Editor node with the results of another.
Viewing Clips in the LUT Editor in Batch
You can use the reference controls and the split bar to compare clips as you tweak the LUT in the LUT Editor in Batch.
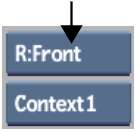
For example, with a clip parented to a LUT Editor node in Batch, you can display the original clip under the split bar by selecting R:Front in the Reference box. This way, the applied LUT affects the result clip above the split bar, while the original clip is unaffected.


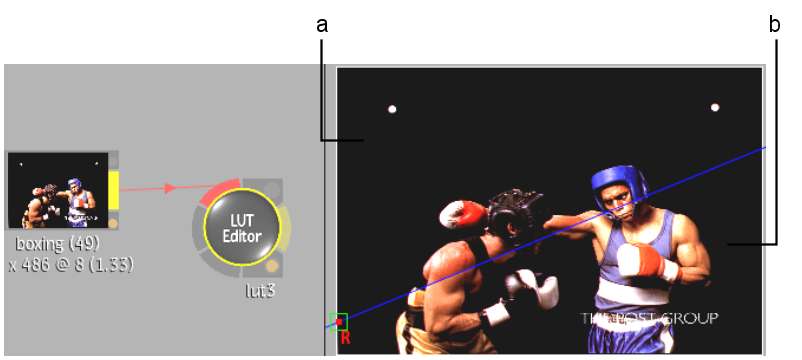
(a) Clip with LUT applied (b) Original clip without LUT
Image courtesy of The Post Group
You can set contexts to use as other reference clips or display reference frames stored in the buffer under the split bar. For more information on using references and the split bar, see Displaying the Reference Area.
You can also use multiple viewports in Batch to see the results of clips processed through different LUT Editor nodes. In addition to being able to use the LUT Editor's own reference controls, you can tweak the LUT parameters in different LUT Editor nodes to compare results. See Displaying Multiple Views.
To compare clips processed through different LUT Editor nodes:
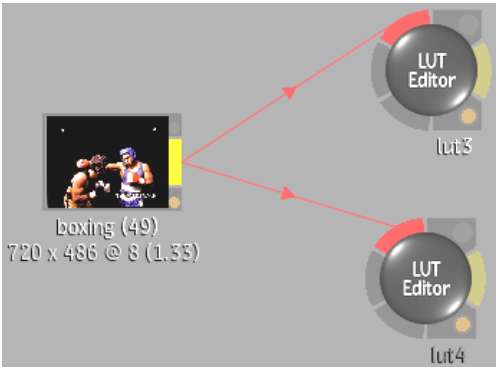
Image courtesy of The Post Group
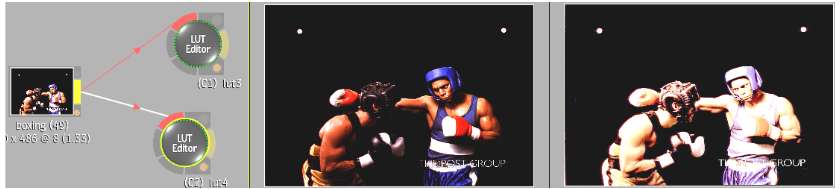
Image courtesy of The Post Group
The clip in the Context view corresponding to the LUT Editor node whose properties you adjusted is updated. You see your adjustments in relation to the clip affected by the other LUT Editor node.

The split bar is displayed in both viewports containing the clips, with the original clip as a reference.