Adding and Deleting Vertices on a Polygon or Line


Change the shape of a polygon or line by changing its number of vertices.

To add a vertex to a polygon or line:

  1. In the Graphics menu, click Edit.
  2. Select the polygon or line you want to edit.

    The vertices for that object are selected.

  3. Press A.
  4. Press on one of the existing vertices and drag outward. A vertex is added counterclockwise to the selected point.

    To add a point clockwise to the selected point, press Ctrl+A.

  5. Repeat steps 3 and 4 for each vertex you want to add to the object.

To delete a vertex from a polygon or line:

  1. In the Graphics menu, click Edit.
  2. Select the polygon or line you want to edit.

    The vertices for that object are selected.

  3. Press D.
  4. Click the vertex you want to delete.

    The selected vertex is deleted from the object.

  5. Repeat steps 3 and 4 for each vertex you want to delete on the object.

The Auto Point Command

When you add or delete a vertex on a polygon or line, the same point is added or deleted on all shapes for that object. You can disable this option in the Setup menu. When the Auto Point button is disabled, any point you add or delete on a shape is added/deleted in the current shape key only.

Show small imageShow large image

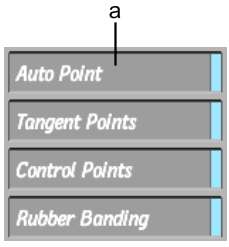
(a) Auto Point button