


Performing a Perspective Rectification
You can rectify an image based on its perspective. You set four-corner source anchor points to features in the image that are distorted by the lens perspective, and map these points to a rectangle or a free-form four-corner destination shape. For example, you can correct a distorted wall by anchoring the points to the wall corners and automatically rectify it to be a rectangle.
To perform a perspective rectification:


| Select: | To rectify (or distort) by: |
|---|---|
| To Rectangle | Mapping the four-corner source anchor points to a rectangle (you do not have control of the destination rectangle). |
| Horizontal | Preserving the horizontal edges of the original image and rectifying the vertical lines of the four-corner source shape to be vertical. |
| Vertical | Preserving the vertical edges of the original image and rectifying the horizontal lines of the four-corner source shape to be horizontal. |
| Free Form | Mapping the four-corner source anchor points to a free-form four-corner destination shape. |
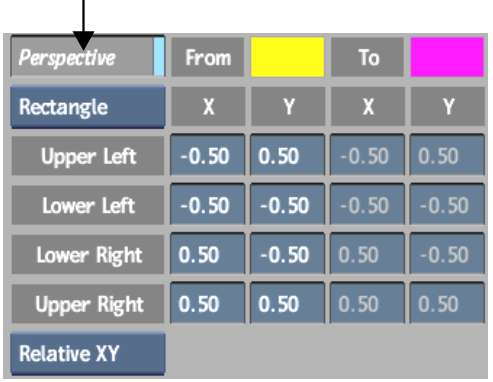
| Select: | To set the X and Y range to: |
|---|---|
| Relative XY | -0.5 to 0.5. |
| Absolute XY | Half of the image size. |
Use the To and From colour pots to change the colours of the anchor points and guide lines, if needed.