When you open the Text module, the default font is loaded and ready to use. When you choose a different font, it becomes the current font and all text you type appears in the current font. If you edit text that has a different font, the current font is replaced by the font of the text at the cursor position. For example, if you are working with Carta font and you edit text that uses Helvetica, Helvetica becomes the current font and all subsequent text you type appears in Helvetica.
You specify the default font using the TextDefaultFont token in the init.cfg configuration file. See the Autodesk Visual Effects and Finishing Configuration File Reference Guide. Also, you can install additional fonts for use in the Text module. See Installing Fonts.


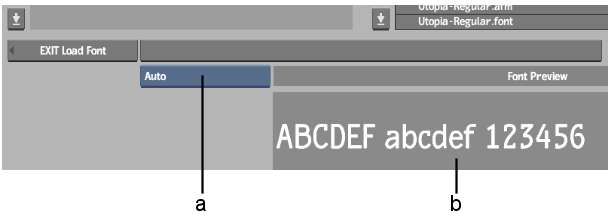
(a) Font Type box (b) Font Preview window
| Type | Description |
|---|---|
| Type 1 | A single-byte font type designed for Roman language fonts. Soft-links to the Adobe® Postscript® Type 1 fonts installed with the system or supplied by Autodesk are contained in /usr/discreet/font directory. |
| CID | A multi-byte adaptation of Adobe Postscript Type 1 fonts, well-suited to representing the large character sets of Asian languages such as Japanese, Korean and Chinese. |
| TrueType | A widely used cross-platform font format. |
| OpenType® | A font developed by Adobe and Microsoft® that supports expanded character sets and layouts. |
| Auto | Displays all font types, detecting the type automatically. |
The sample text can be the text you selected in the text layer, or text that you enter by clicking the Font Preview window to display the on-screen keyboard.
This process may take a while, but once you create the proxies, the settings are retained. Each time you return to the font library, you can toggle between viewing font titles and font proxies by selecting Proxies or Titles.
The Text menu reappears with the name of the new font in the Font field.


