When you create a matte or front source, a new branch appears in the schematic showing the matte or front clip is separated from its media, ultimately replacing the matte or front with itself. This method of using source nodes lets you animate the media's matte or front separately.
To create a matte or front source:
A source node is created in Schematic view that parents an axis and a surface.


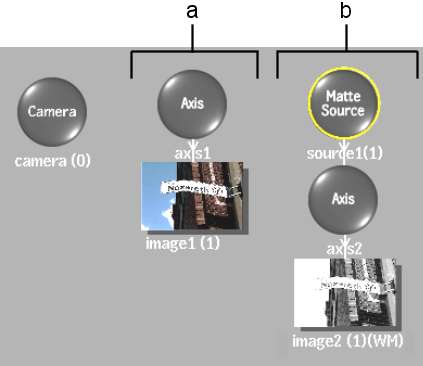
(a) Normal branch (b) Source branch
To view the contents of the source node in the image window, see Viewing a Source Node.
The changes applied to the axis or surface connected to a source are applied to the media's matte or front.
For example, on a matte source, if you change the axis's scale to 80%, the media's matte is scaled 80% when used with the media's front. In addition, if you replace the surface by a bilinear or bicubic, you can create complex animations where the matte behaves like a page turn leading into the scene.


