A matrix specifies the relative influence of each pixel's colour value in the filter calculation. Each matrix consists of a grid of fields. The field at the centre of the grid represents the pixel currently being evaluated (the current pixel). The remaining fields represent the pixels surrounding the current pixel. The value you set in each field determines the relative influence of the corresponding pixel in the filter calculations. A pixel with a higher value is more influential in the calculations than a pixel with a lower value.


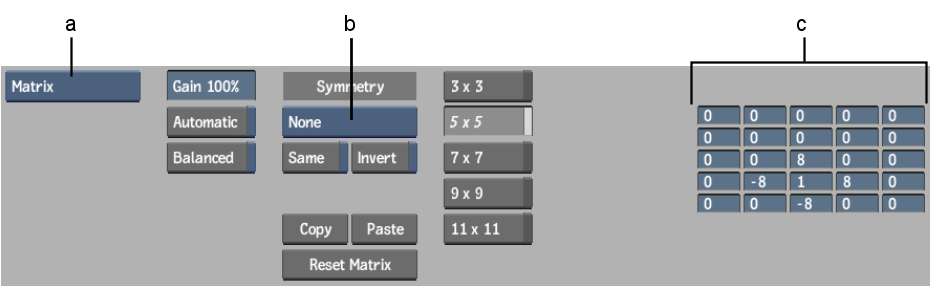
(a) Filter Type (b) Symmetry Type (c) Matrix
To customize a filter using matrix elements:
You can use up to five filter elements in a single custom filter.
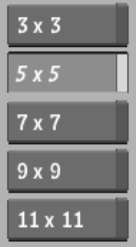
The 3 x 3 button opens a matrix of three rows by three columns; the 5 x 5 button opens a matrix of five rows by five columns, and so on.
The matrix fields are numeric. Permissible values range from -255 to +255 in 8-bit mode, and from -4095 to +4095 in 12-bit mode.

You can create a balanced matrix to create various custom effects. Enable Balanced and then enter a value in a matrix field. An algorithm divides the number you entered by the total number of fields and then subtracts the result from each value in the matrix.
When changing values in the matrix, you can use the Symmetry options to change multiple elements in various symmetrical arrangements to produce different effects.

| Select: | To: |
|---|---|
| None | Change each element in the matrix individually without using the symmetry principle. |
| Horizontal | Change two horizontally symmetrical elements. |
| Vertical | Change two vertically symmetrical elements. |
| Diagonal Positive | Change two diagonally symmetrical elements in the positive direction (lower left to upper right). |
| Diagonal Negative | Change two diagonally symmetrical elements in the negative direction (lower right to upper left). |
| All | Change four horizontally and vertically symmetrical elements. |
| Enable: | To: |
|---|---|
| Same | Change all symmetrical elements to the same value. |
| Invert | Change the symmetrical element by the same amount but in the opposite direction (either positive or negative) of the input value. |
Copying and Pasting Filter Settings
Use the Copy and Paste commands in the Filter Matrix menu to copy a setup from one filter and apply it to a custom filter. The Copy command copies the displayed matrix as well as the status of the Bypass Chroma and Bypass Luminance buttons.
To copy and paste filter settings:
The setup you copied is pasted into the current filter element.


