Defining Processing Settings


Use node settings to define how individual Output and Export nodes are processed and to specify a destination for each processed result.

When you drag an Output node from the node bin to the schematic, the Output node that appears by default is set to RGB-A processing mode. You use the Output Settings to change it to Stereo processing mode.

You can output to Cleaner XL with the Output node. See Outputting Media to Cleaner XL.

To define settings for an Output node:

  1. Select an Output node.

    Show small imageShow large image

    Settings for the Output node appear.

    Show small imageShow large image

    (a) Output Type box (b) Framerate box (c) Output Bit Depth box (d) Storage box

  2. Select the type of clip to be processed from the Output Type box.

    In Stereo processing mode, the Output node displays a red left eye input tab and a red right eye input tab. The left eye and right eye outputs will be processed on two layers of the same stereo track.

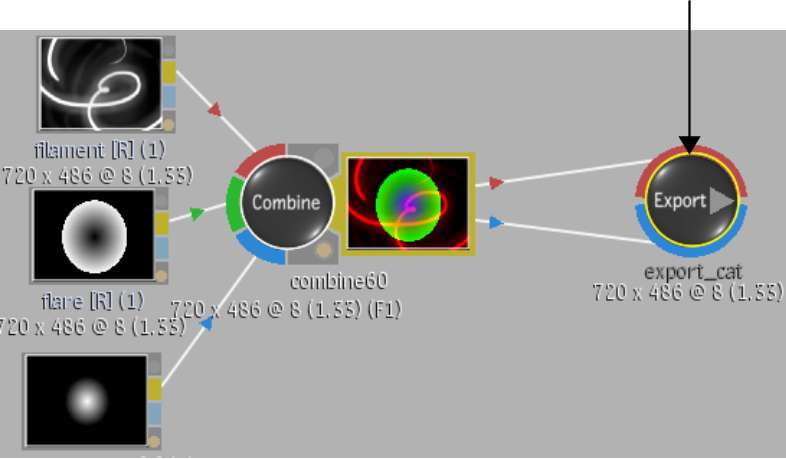
    In RGB-A processing mode, the Output node displays a red RGB input tab and a blue matte input tab. The front will be output as the RGB clip and the matte will be output as the alpha result.

    Show small imageShow large image

    (a) Output node with left eye and right eye inputs (b) Output node with RGB and matte inputs

  3. Select the framerate for the clip to be output from the Framerate box.
  4. Select a bit depth for the clip to be output from the Output Bit Depth box.

    If you select 12-bit, the Packed and Unpacked options in the Storage box become active. Select Packed to save image data so that it requires less space on the framestore. Select Unpacked to save an image that can be retrieved without an intermediate step.

  5. Enable Offset Timecode to enable any timecode offsets you make in the Queue Manager.

    For example, with Offset Timecode enabled, if you specify a timecode of 00:00:00:00 and render from frame 10, the first frame of the render will have TC 00:00:00:09.

  6. From the Output Destination box, select whether the output will be written to the reel on the Desktop or to a library. If Library is selected, you are prompted to select an existing library or create a new one.

    Show small imageShow large image

  7. (Optional) Select another Output node or an Export node and define settings for another job.
  8. (Optional) Set up the processing jobs in the Queue Manager. See Setting Up Processing Jobs.
  9. Click Process or select a processing option from the dropdown list.

    Show small imageShow large image

    All active jobs are processed to the destinations you set.

To define settings for an Export node:

  1. Select an Export node.

    Show small imageShow large image

    Settings for the Export node appear.

    Show small imageShow large image

    (a) Framerate box  (b) Output Bit Depth box (c) File Format box 

  2. Select the framerate for the clip to be output from the Framerate box.
  3. Select a bit depth for the clip to be output from the Output Bit Depth box.
  4. Select an export format from the File Format box.
  5. Define the padding format for the published file name in the Padding field. %04d indicates that 4 zeroes are added to the file name for each frame.
  6. Use the Offset field to define any timecode offsets for the processed clip.
  7. Enable Compress to apply compression to the exported file.
    NoteThe Compress button is active if Tiff, Sgi, or OpenEXR is selected from the File Format box.
  8. Enter the path for the exported clip in the Destination Path field.

    Show small imageShow large image

  9. (Optional) Select another Export node or an Output node and define settings for another job.
  10. (Optional) Set up the processing jobs in the Queue Manager. See Setting Up Processing Jobs.
  11. Click Process or select a processing option from the dropdown list.

    Show small imageShow large image

    All active jobs are processed to the destinations you set.