


Camera, Working, and Orthographic Views
You can view the scene from Camera view, the Working view, and three orthographic views. In Camera view, an object becomes smaller as it moves farther away from the camera. Working view is very similar to Camera view, except that no camera settings are affected. Working view is useful for trying out different settings and positions without actually making changes that can affect your cameras. In Orthographic view, an object remains the same size, regardless of its distance from the camera. Orthographic views are more helpful for aligning objects.
The following figures illustrate the different angles by which the scene can be viewed. The scene in this example contains a grey back clip and the 3D model of an apple.
To set camera, working, and orthographic views:


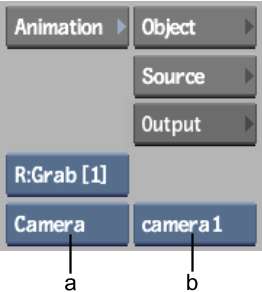
(a) View box (b) Camera box
| Select: | To: |
|---|---|
| Camera | View the scene in Camera view. This is the scene as viewed by the camera eye. In other words, your field of vision in world space is equivalent to the viewing frustum of the camera. The size of objects depends on their distance from the camera eye. |
| Top | View the scene as if you are positioned on the positive Y-axis. This is an orthographic view; there is no perspective deformation. |
| Side | View the scene from the side, as if you are positioned on the positive X-axis. This is an orthographic view; there is no perspective deformation. |
| Front | View the scene as if your line of vision is directed into the camera eye. This is an orthographic view; there is no perspective deformation. |
| Working | View the scene just as in Camera view. Try out different positions and adjustments without affecting the camera settings. |
When using an orthographic view, you may notice that parts of the object you are viewing are getting cut off. Adjust the near and far ortho views. You gain more space to view the object, but lose some viewing precision.
In the Display section of the Action Setup menu, adjust the Near and Far fields.
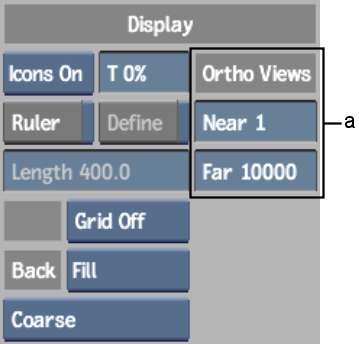
(a) Ortho Views in Setup menu
In addition to Camera, Working, and the three orthographic views, you can also select Schematic view, which uses nodes to represent the objects in the scene and arrows to illustrate the relationships between objects.


