The Diffuse menu is divided into two tabbed sections: Controls and Texture.


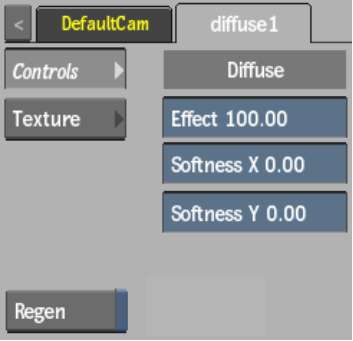
Effect fieldDisplays the amount of diffuse colour.
Softness X fieldDisplays the amount of X-axis blur applied to the diffuse map.
Softness Y fieldDisplays the amount of Y-axis blur applied to the diffuse map.
Regen buttonEnable to dynamically refresh the image as changes are made to the diffuse settings.
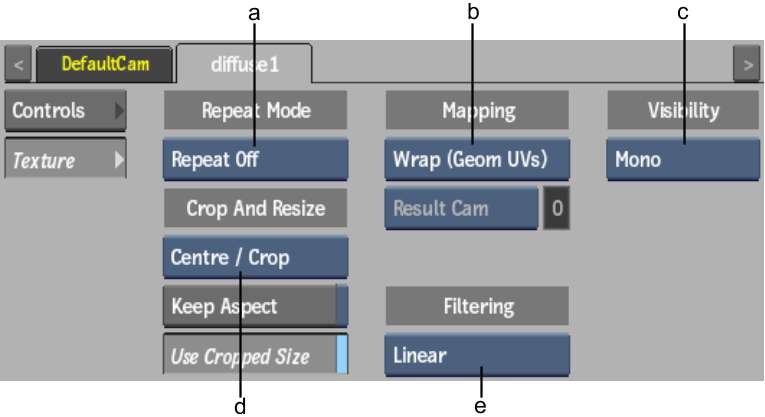
(a) Repeat Mode box (b) Mapping box (c) Fit Method box (d) Crop box (e) Filter box
Repeat Mode boxSelect how the diffuse map pattern is repeated on the surface.
Fit Method boxSelect a fit method option to be applied to the diffuse map.
Keep Aspect buttonEnable to preserve the aspect ratio of non-square pixels (not available for the Fill fit method).
Use Cropped Size buttonEnable to replace the diffuse map with the cropped size of the diffuse media. Disable to use the cropped diffuse media as is.
Mapping boxSelect the type of texture mapping. You can use the following mapping types.
| CylindricalCylindrical mapping
wraps the diffuse map around the 3D model in a cylindrical manner,
starting from the lower-left corner of the diffuse map. Use cylindrical
mapping for models of cans, bottles, or other circular and semicircular
bodies. Cylindrical mapping is oriented counterclockwise—left-to-right—when
viewed from the top of the model.
|
| WrapWrap mapping completely
envelops the 3D model with the diffuse map according to the object’s
diffuse coordinates. To use this option, you must import a model
that has its own diffuse coordinates. When using Wrap mode, you
can also apply UV mapping settings from the Geometry menu. See
Using UV Mapping.
|
| PlanePlanar mapping applies
the diffuse map without distorting the front plane of the 3D model,
similar to a movie projector casting an image onto a screen. All
3D coordinates of the geometry are mapped to this plane to generate the
diffuse values. Planar mapping positions the lower-left corner of
the diffuse map on the 3D model’s axis. When you apply planar mapping,
any surfaces on the 3D model perpendicular to the front plane cause
the pixels at the edge of the texture to project along the “sides” of
the object.
|
| PerspectivePerspective mapping is similar to planar mapping, except that it performs a perspective transformation of the diffuse map based on the selected camera’s field of view (FOV). When you select Perspective as the mapping type, the Perspective Camera box becomes active, allowing you to specify the active camera. The FOV of the camera has an impact on the resulting effect of any transform applied to the parent axis of the texture. On stereo cameras, the interaxial distance between left and right cameras also has an effect on the resulting perspective transform. |
Perspective Camera boxSpecify which camera’s FOV to take into account when using perspective mapping.
Perspective Camera fieldDisplays the active perspective camera number.
Filter boxSelect the type of filtering to apply to the diffuse map.
| Select: | To apply: |
|---|---|
| Nearest | No filtering — the pixel of the texture closest to the screen pixel is displayed. |
| Linear | Basic bilinear filtering. |
| Anisotropic | Non-proportional filtering between X and Y (faster to process than EWA, but with a lesser quality). |
| Aniso+Linear | A combination of Anisotropic and Linear filtering. |
| EWA | A high-quality elliptical weighted average filter to produce enhanced rendering results (slower to process than other filters). |
| EWA+Linear | A combination of EWA and Linear filtering (offers the most advanced filter processing). |
Camera Type boxSelect the camera type visibility for the diffuse map. For example, you can use this setting to apply a Left Eye and Right Eye camera type for two maps that are children of the same surface or geometry in a stereo scene.


