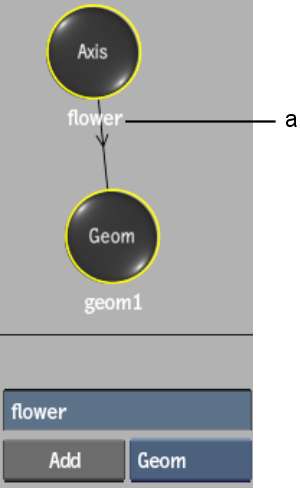
Each node added to the schematic is assigned a default name. The name identifies the type of node and the order in which it was added. For example, Axis nodes are named axis1, axis2, axis3, and so on.
The name usually appears below the node in the schematic and as a folder in the Channel Editor. You can rename the nodes. When you do this, the new name is updated in both locations.
The name of the node appears in the Node Name field.


(a) Node Name field
The schematic and the Channel Editor are updated to reflect the new name.


(a) Renamed node
Newly added nodes take the next lowest available number. In the previous example, axis1 was renamed flower. In the following example, another Axis node is added to the schematic. It is automatically named axis1.


(a) Newly added Axis node